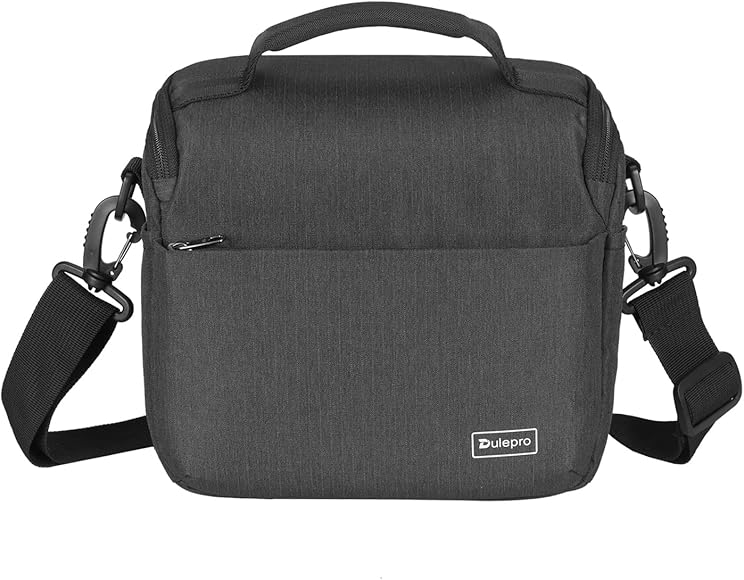
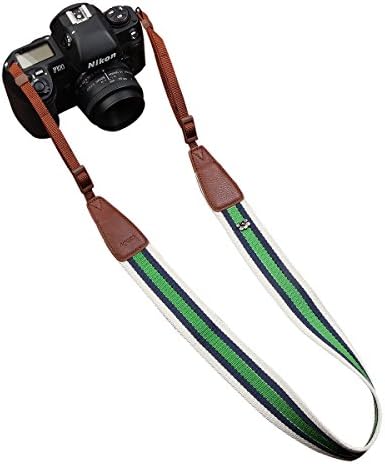
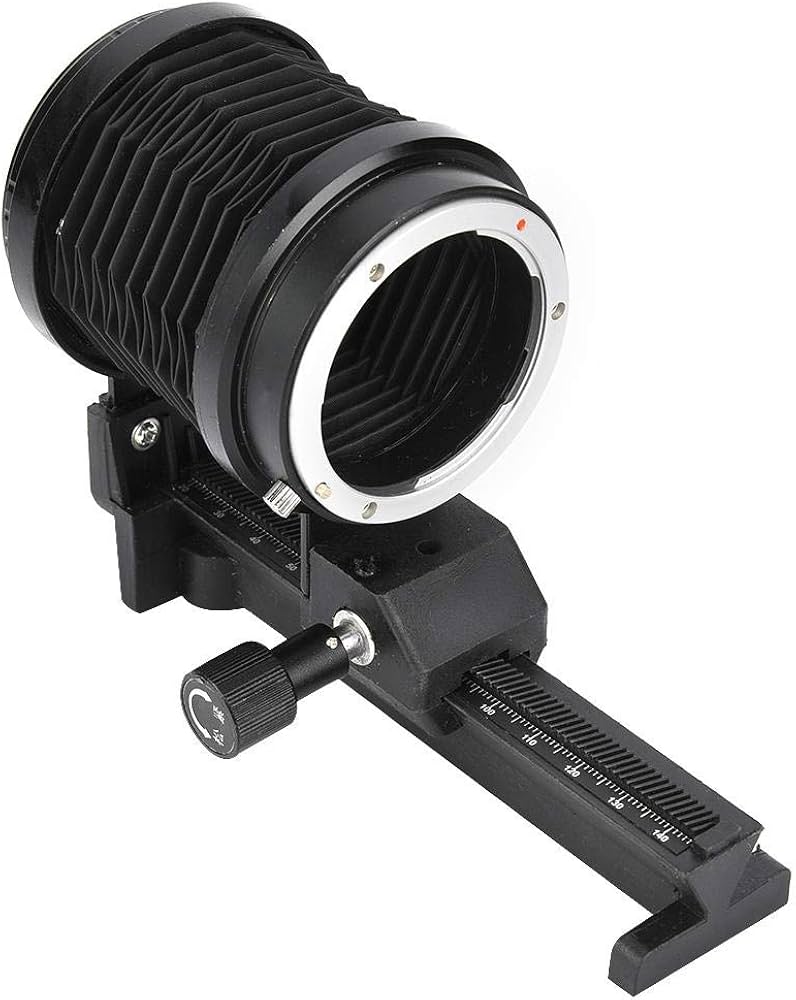
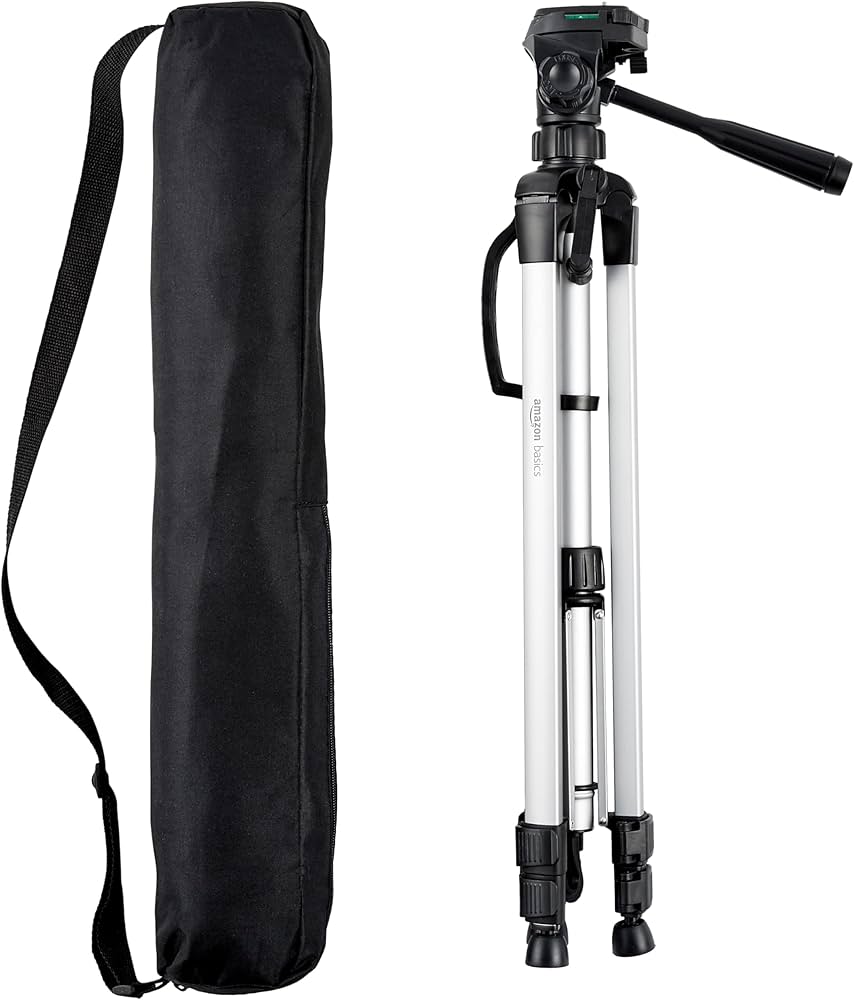
Travel photography is more than just capturing the sights and scenery of your destination. It is also capturing the memories, family photos, and emotions you have experienced on your trip, as well as the people you have met and the stories you have created. Whether you are a solo traveler or with your family members, you should take family vacation photos that reflect your unique experience and personality starting with the right equiptment.
If you want to dive in more, Here is a link to a way deeper article on gear and how it all works from Gary over at snap director where you can find a ton of photography tips to help you take the best photos of your travels ever. These tips straight from a professional photographer include choosing the right gear, finding the right locations and lighting, and incorporating props. In addition, I’ll give you tips on how to create memorable portraits and candid moments. Let’s start! (P.S. If you want to get in ALL the portraits, get in touch for a photo session here in Paris, we’d LOVE to work with you!)
Travel Photography Tips for Families and Solo Travelers
Tip #1. Choosing the Right Camera and Gear
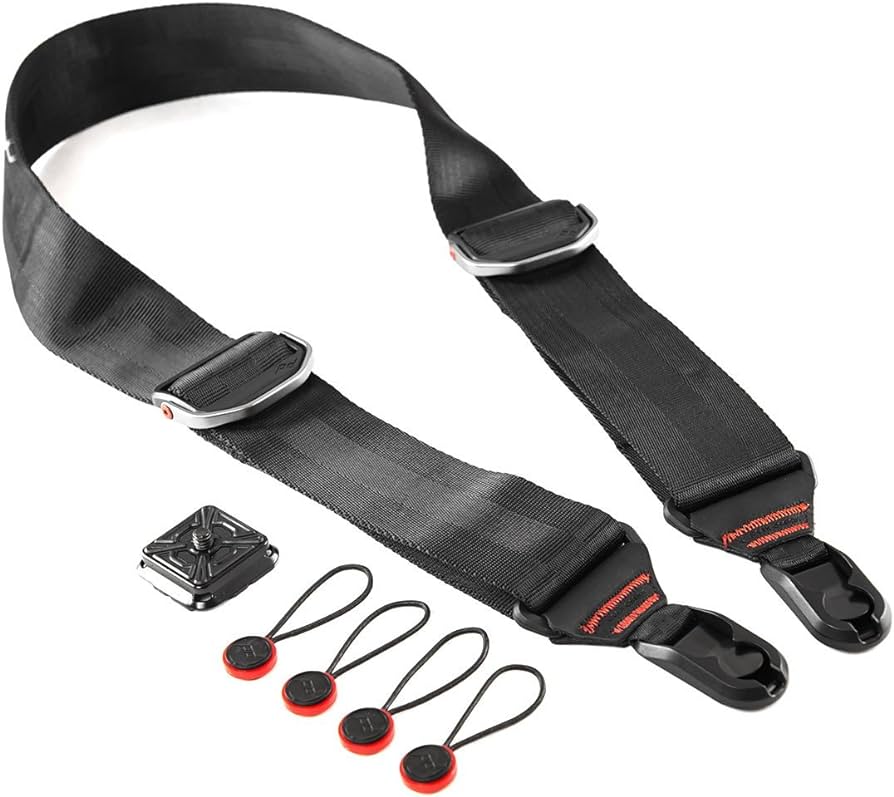
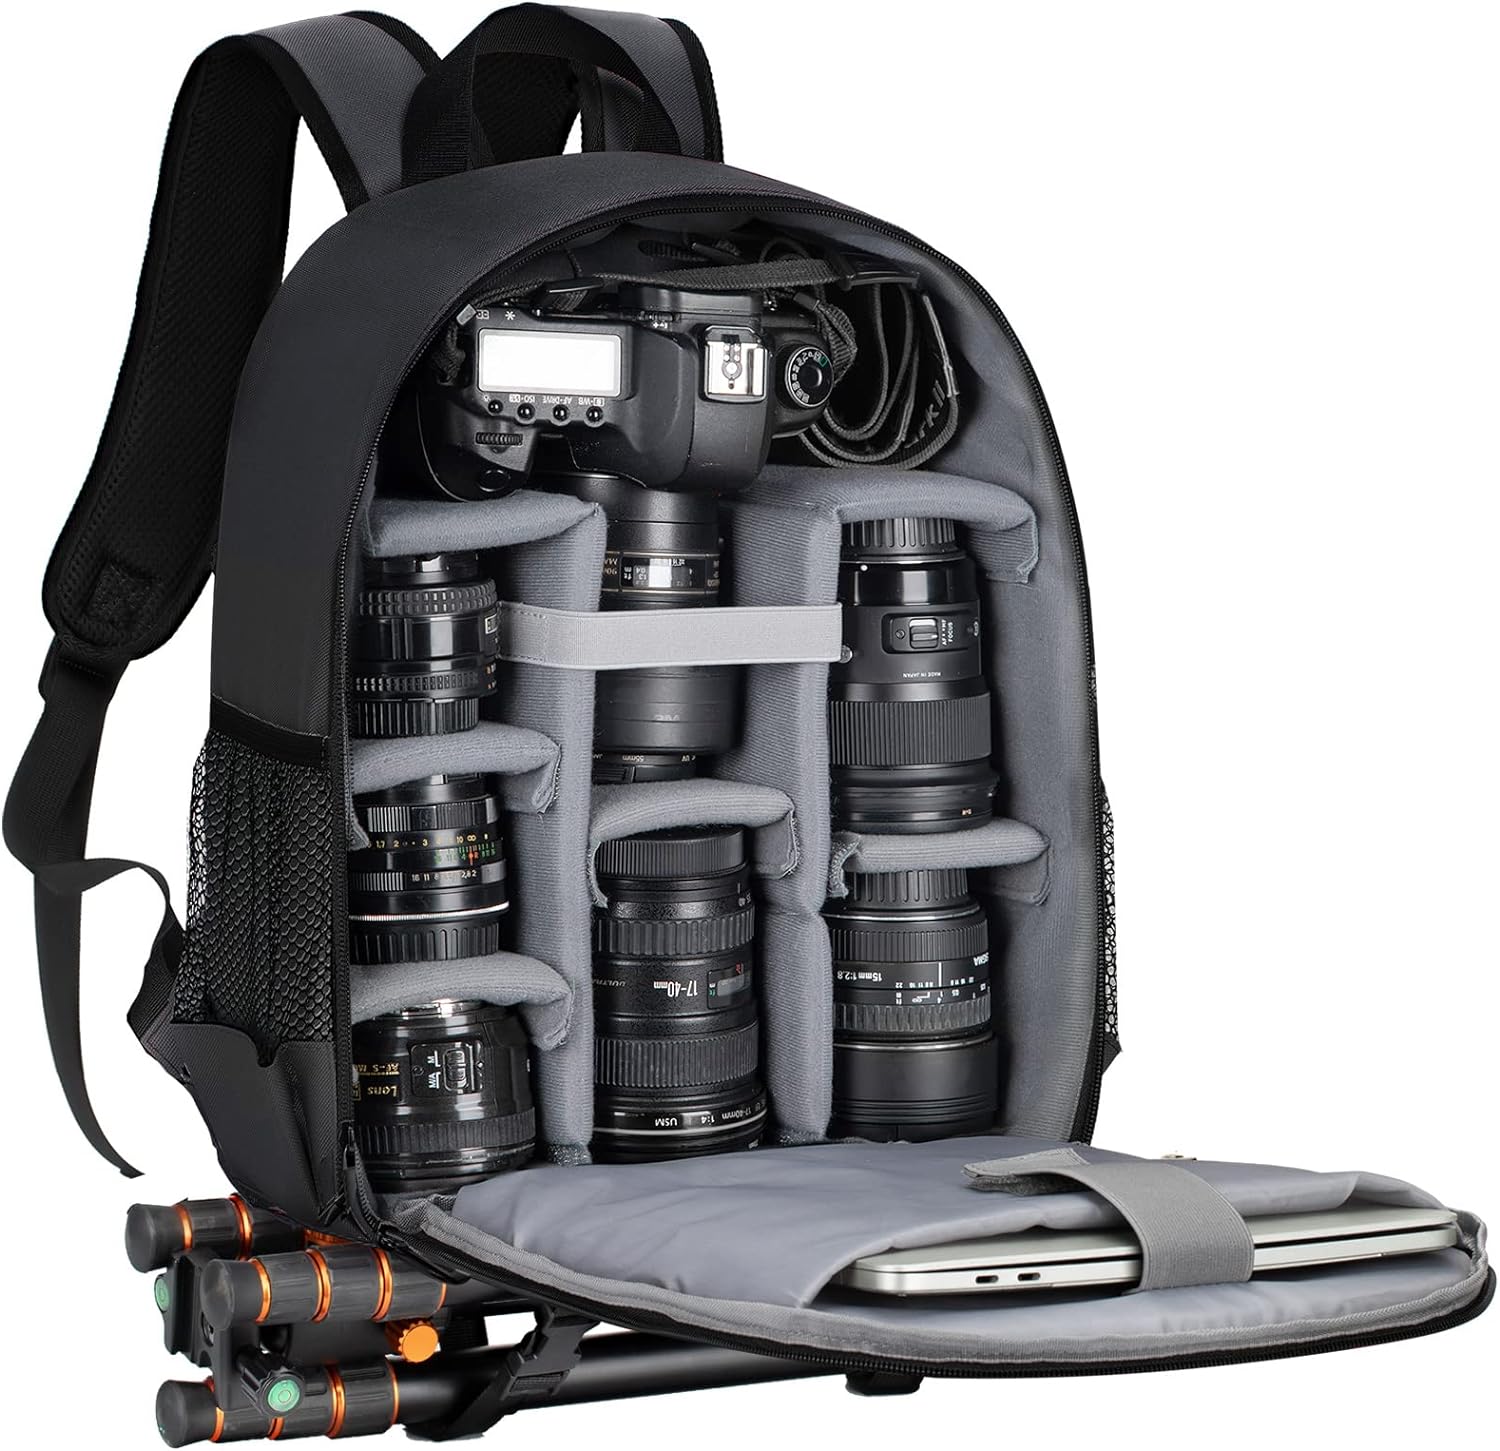
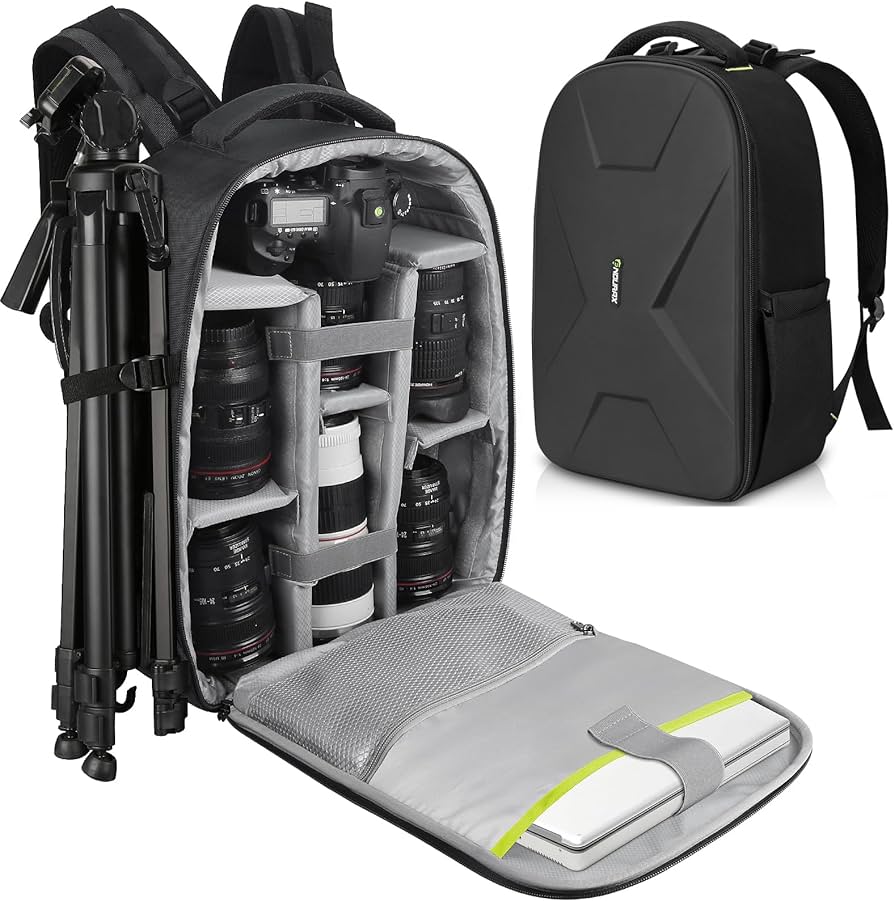
The first step to taking great travel photos is choosing the best camera and gear for your trip. There are many options available, from smartphones and compact cameras to DSLRs and mirrorless cameras to drones and action cameras. Depending on your budget, skill level, and preferences, each has advantages and disadvantages.
Here are some things to consider when choosing your camera and gear:
A. Size and weight:
Your digital camera should be easy to carry around and not take up too much space in your luggage, as well as avoiding attracting too much attention or appearing like a tourist attraction. While smart phones and compact cameras are convenient and portable, they may not provide the best image quality or versatility. A DSLR or a mirrorless camera can provide you with more control and options, however they are heavier and bulkier and require additional lenses and accessories.
PERSONAL NOTE: We switched over from DSLR cameras to mirrorless at the studio because the quality is excellent and the weight is much less! They capture beautiful family pictures and are great for professional as well as personal work!
B. Image Quality:
The camera you choose should be capable of producing high-quality images that are sharp, clear, and colorful as well as be able to handle a variety of lighting conditions, from bright sunlight to dim interiors.
In good lighting, smartphones and compact cameras can take good photographs, but they may struggle in low light or with high contrast. When using a fast camera lens or tripod, a DSLR camera or mirrorless camera will provide better image quality and performance.
PERSONAL NOTE: I have printed iphone photos for the wall and in albums and as great as they look on the phone, they’re really not suited for anything larger than a 5x7in print or inside a smaller photo album. If you want something you can print larger for your home, I’d really recommend a mirrorless camera.
C. Features and Functions:
The camera should have the features and functions that best suit your needs and style. For example, the camera should be equipped with a zoom lens to get both wide shots and close ups (you don’t want to miss the perfect moment because you’re switching lenses, nor do you want to lug around a huge amount of weight), a manual mode, a burst mode, a video mode, a Wi-Fi connection, or GPS capabilities.
The features on a smartphone or compact camera may not be as advanced or reliable as those on a DSLR or mirrorless camera. DSLRs and mirrorless cameras can offer more features and functions, but they can also be more complicated to use and require more settings adjustments.
D. Durability and Reliability:
When traveling, you will need a camera that can withstand dust, water, shock (I’m looking at you, young kids! haha), or extreme temperatures. In addition, you will want a camera with a long battery life and sufficient storage capacity.
If you drop or expose a smartphone or compact camera to water, they may be fragile and prone to damage. If the camera is weather-sealed or has additional batteries and memory cards, it can be more durable and reliable.
Ultimately, the best travel camera is the one you have on hand and are familiar with. Don’t worry too much about having the most expensive or the latest model. Instead, learn to utilize your camera efficiently and creatively and it’ll make a huge difference in how you capture your family memories.
PERSONAL NOTE: This is the camera that we use at the studio, it’s professional grade. Personally, on my own family vacations I really enjoy using fun cameras like my film camera and my kids LOVE our instax poloroid camera. We have so many candid moments because the poloroid is easy in their tiny hands and all they have to do is press the button and they see the print out almost instantly! It’s one of my favorite purchases. It’s funny too, since kids are usually smaller than adults you get these way different angles and special moments when a kid has the camera. They can really get some great shots!
Tip #2. Choosing the Right Camera Settings
Once you have chosen your camera and gear, you need to know how to use them properly. You need to understand how different settings affect your photos, such as aperture, shutter speed, ISO, white balance, focus, exposure compensation, etc.
Here are some tips for choosing the right camera settings for your travel photos:
A. Use Aperture Priority Mode:
Aperture priority mode is one of the most useful modes for travel photography for the whole family. It allows you to control the depth of field (how blurry the background is) of your photos, which is how much of your scene is in focus. A large aperture (small f-number) creates a shallow depth of field, which blurs the background and isolates your subject.
A small aperture (large f-number) creates a deep depth of field, which keeps everything in focus from near to far. You can use aperture priority mode to easily create different effects, such as portraits, landscapes, or macro shots.
When you use aperture priority, your camera will adjust all of the OTHER settings so you always get the correct exposure. Be careful in low natural light though (during the evenings and inside), your shutter speed will be adjusted to quite low and you could easily get a lot of motion and blur.
b. Use a Fast Shutter Speed:
Shutter speed is how long your camera’s shutter stays open to capture light. A fast shutter speed (short exposure time) freezes the motion of your subject and prevents blur. A slow shutter speed (long exposure time) creates motion blur or light trails.
You can use shutter speed to capture different types of movement, such as people, animals, vehicles, or water. You can also use a tripod or a stabilizer to avoid camera shaking when using a slow shutter speed.
c. Use a Low ISO:
ISO is how sensitive your camera’s sensor is to light. A low ISO (small number) produces a clean and crisp image with less noise. A high ISO (large number) produces a brighter image with more noise.
You can use ISO to adjust the brightness of your photos in different lighting conditions, such as daylight, shade, or night. However, you should always try to use the lowest ISO possible to avoid noise and preserve image quality.
d. Use Auto White Balance:
White balance is how your camera adjusts the color temperature of your photos. Different light sources have different color temperatures, which can affect how your photos look. For example, sunlight has a warm color temperature, while fluorescent light has a cool color temperature.
You can use white balance to correct or enhance the colors of your photos, depending on your preference. However, for most situations, auto white balance works fine and saves you time and hassle.
e. Use Autofocus:
Autofocus is how your camera focuses on your subject. Most cameras have different autofocus modes and points that you can choose from, depending on your subject and scene. For example, you can use single-point autofocus to focus on a specific part of your subject or continuous autofocus to track a moving subject. You can also use manual focus if you want more control or if your camera fails to focus correctly. However, for most situations, autofocus works well and saves you time and frustration.
By using these settings, you can take better photos that are sharp, clear, and colorful. However, you should also experiment with different settings and see what works best for you and your situation. There is no one-size-fits-all solution for travel photography. The best settings are the ones that suit your style and vision.
Tip # 3. Finding the Best Locations and Lighting
The next step to taking great travel photos is finding the best places and lighting for your shots. You want to capture the beauty and diversity of your destination, as well as its culture and history. You also want to avoid the crowds and clichés that make your photos look boring and generic.
Here are some tips for the best ways for finding the iconic locations and lighting for your travel photos:
A. Do Some Research:
Before you travel, a great place to start is to do some research on your destination and find out what are the main attractions, landmarks, and hidden gems that you want to see and photograph. You can use online resources, such as travel blogs, guides, magazines, or social media, to get some inspiration and tips. You can also ask locals (like me!), fellow travelers, or tour guides for their recommendations and insights. Make a list of the places that interest you and plan your itinerary accordingly.
My FAVORITE Beautiful Places in Paris to Photograph:
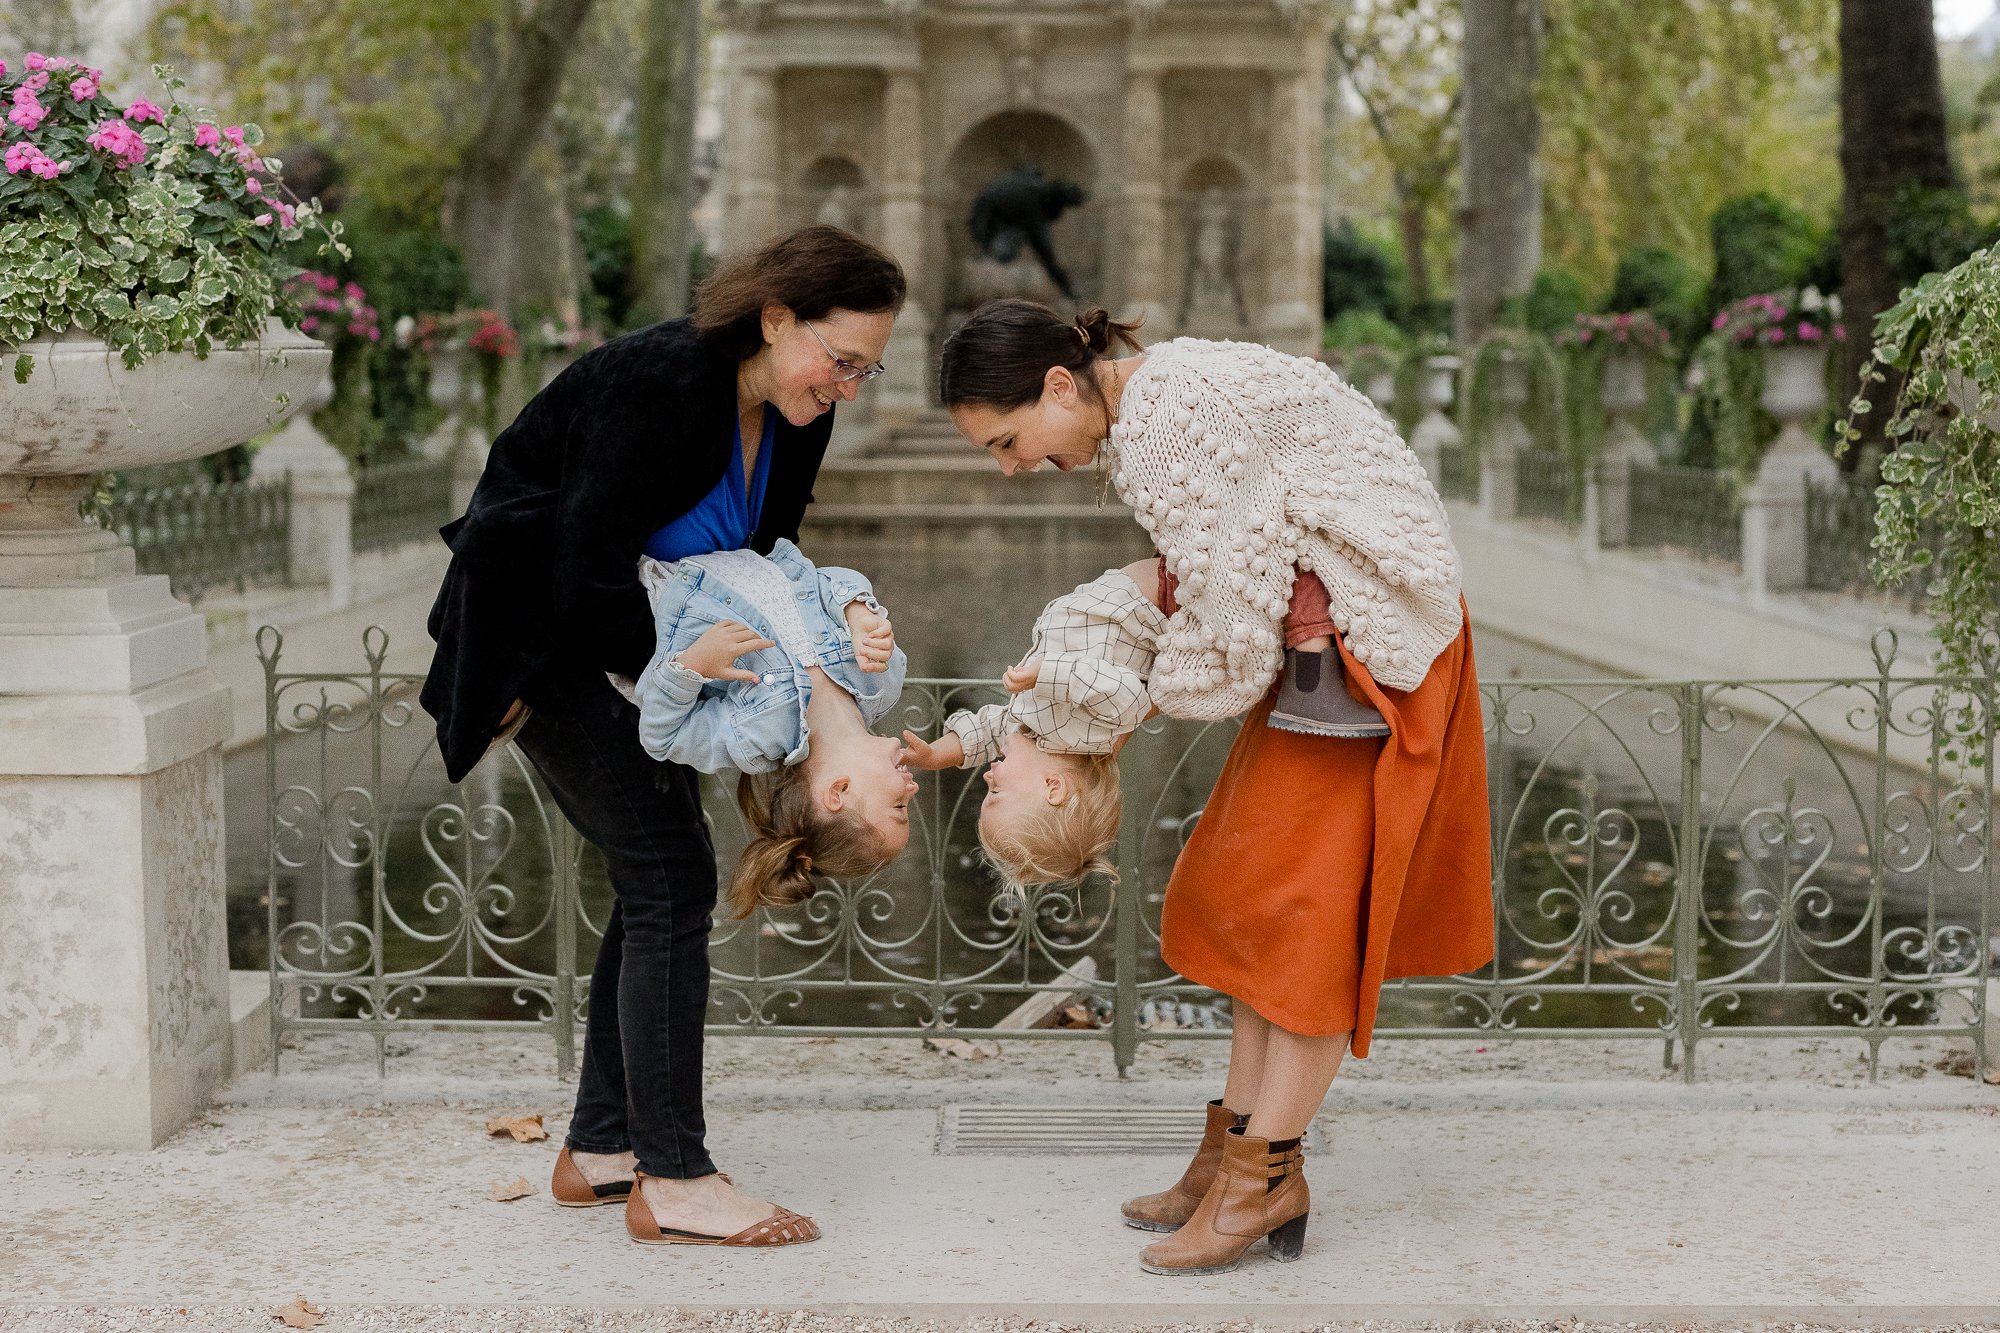
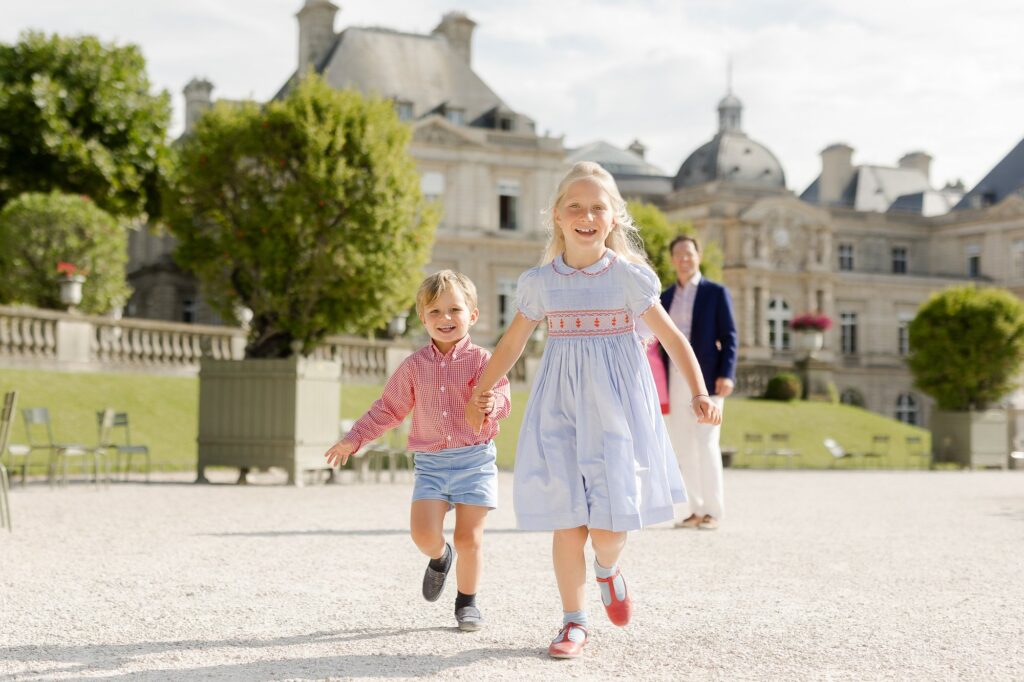
– The gorgeous gardens, my favorite is the Luxembourg Garden with it’s stunning greenery and chateau in the center of the park!
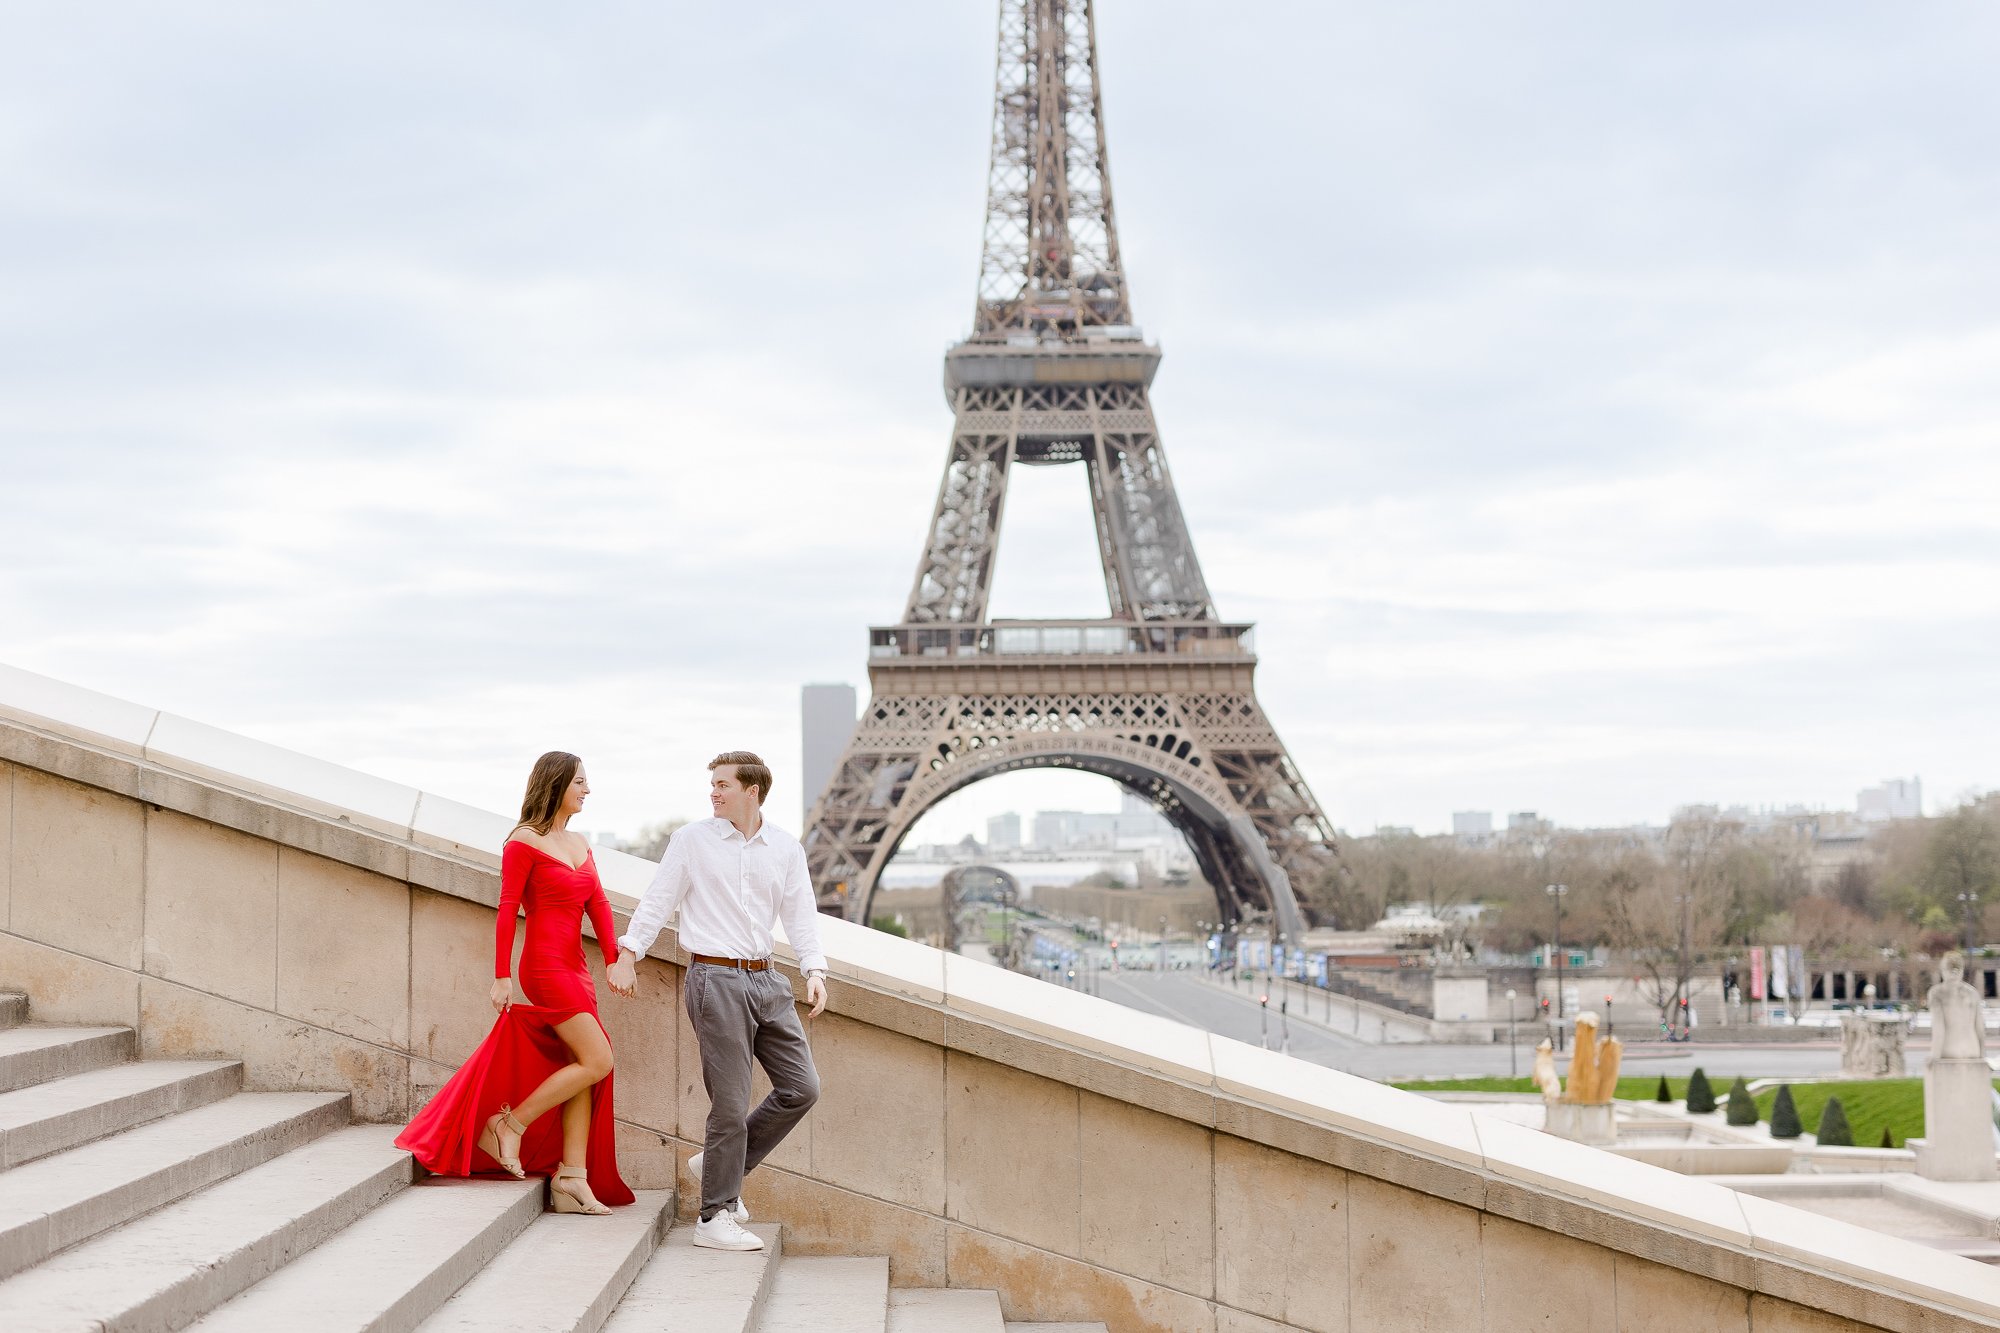
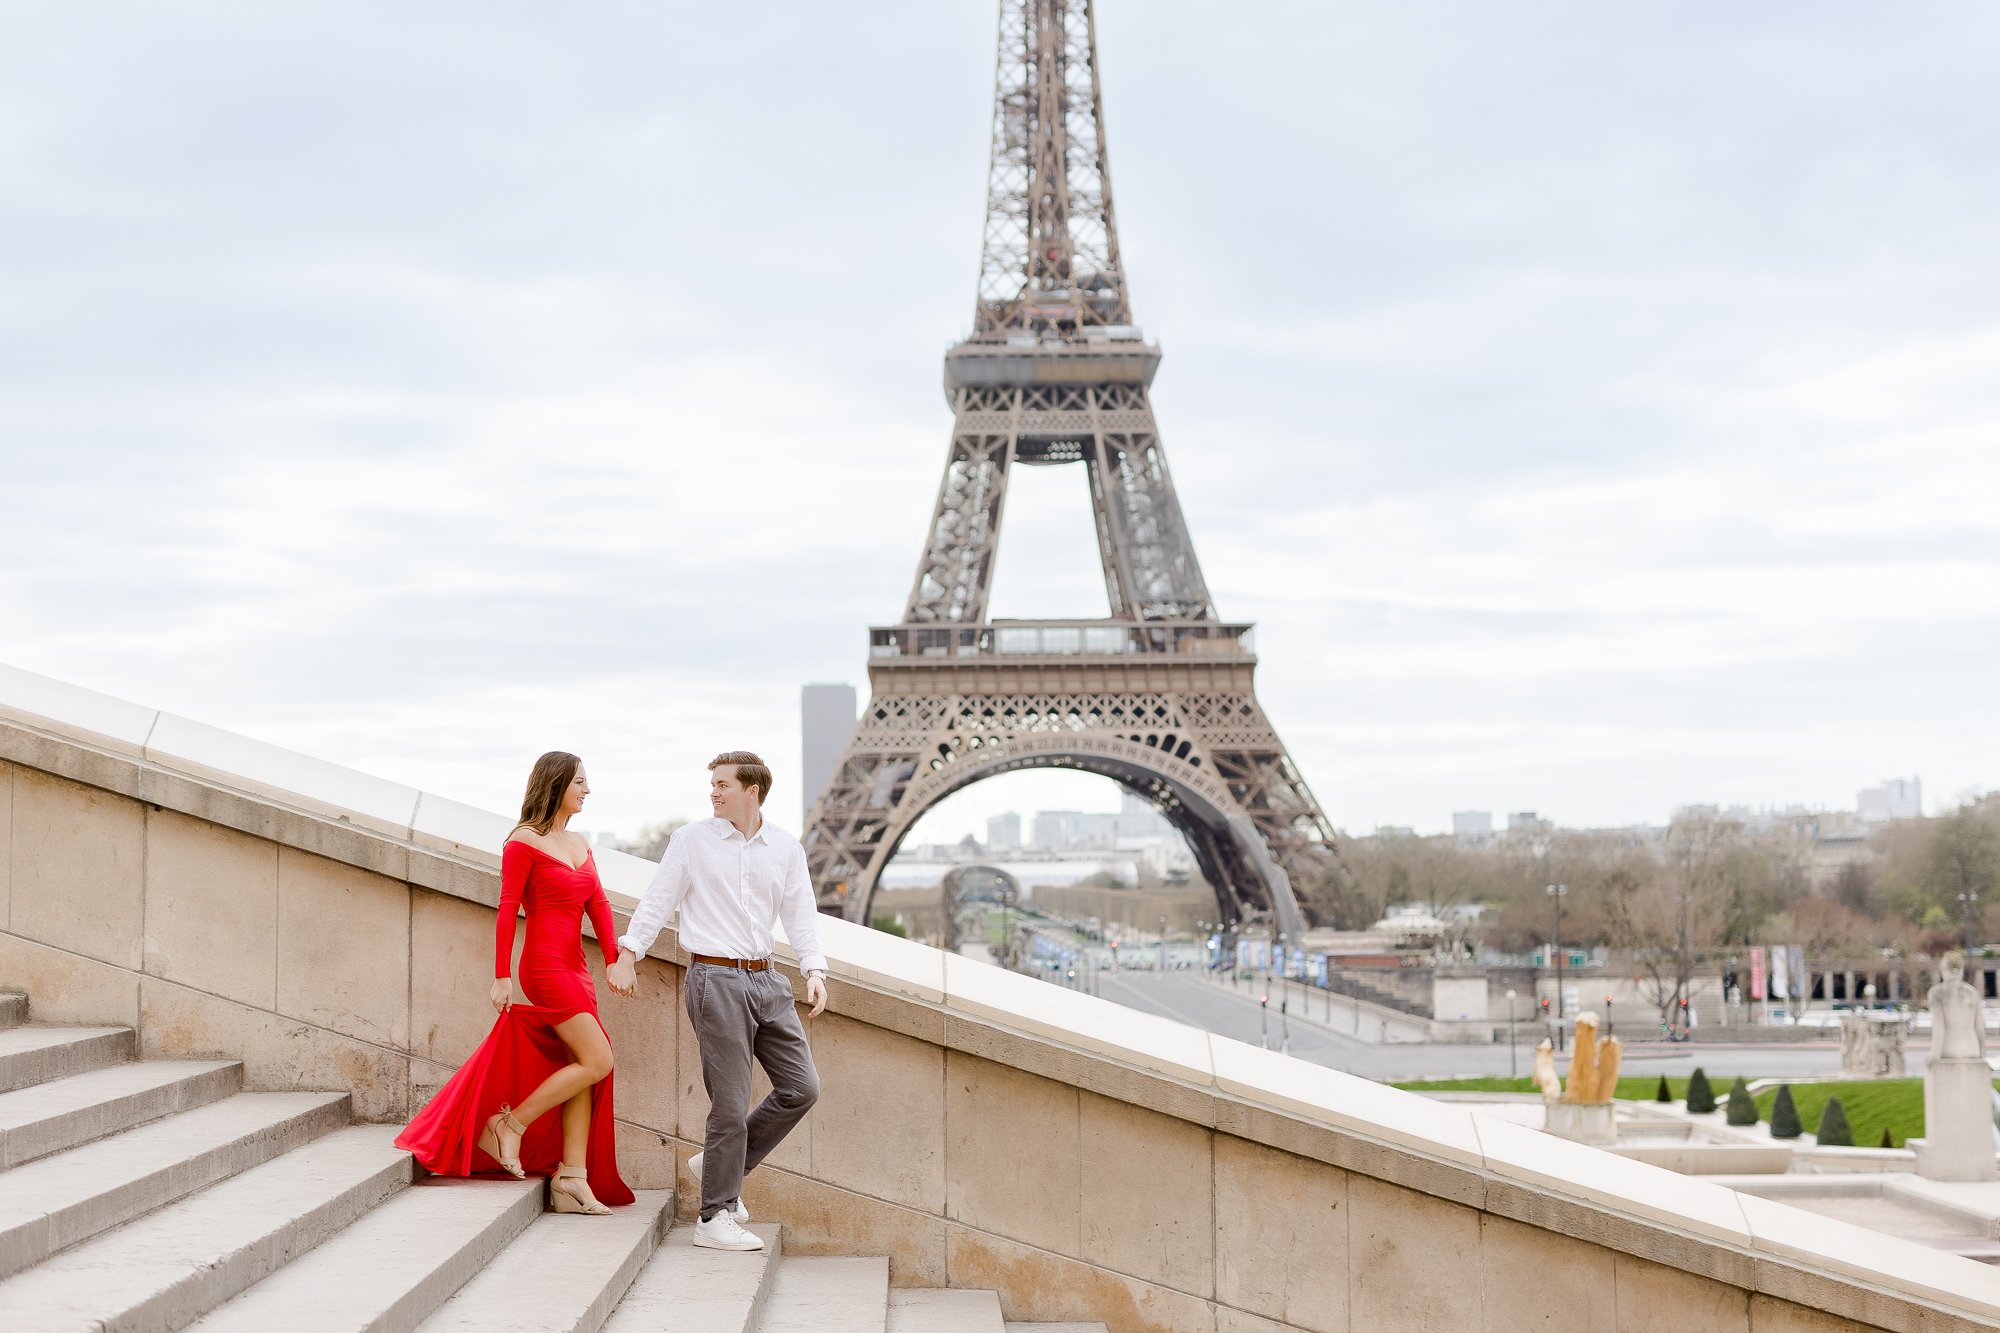
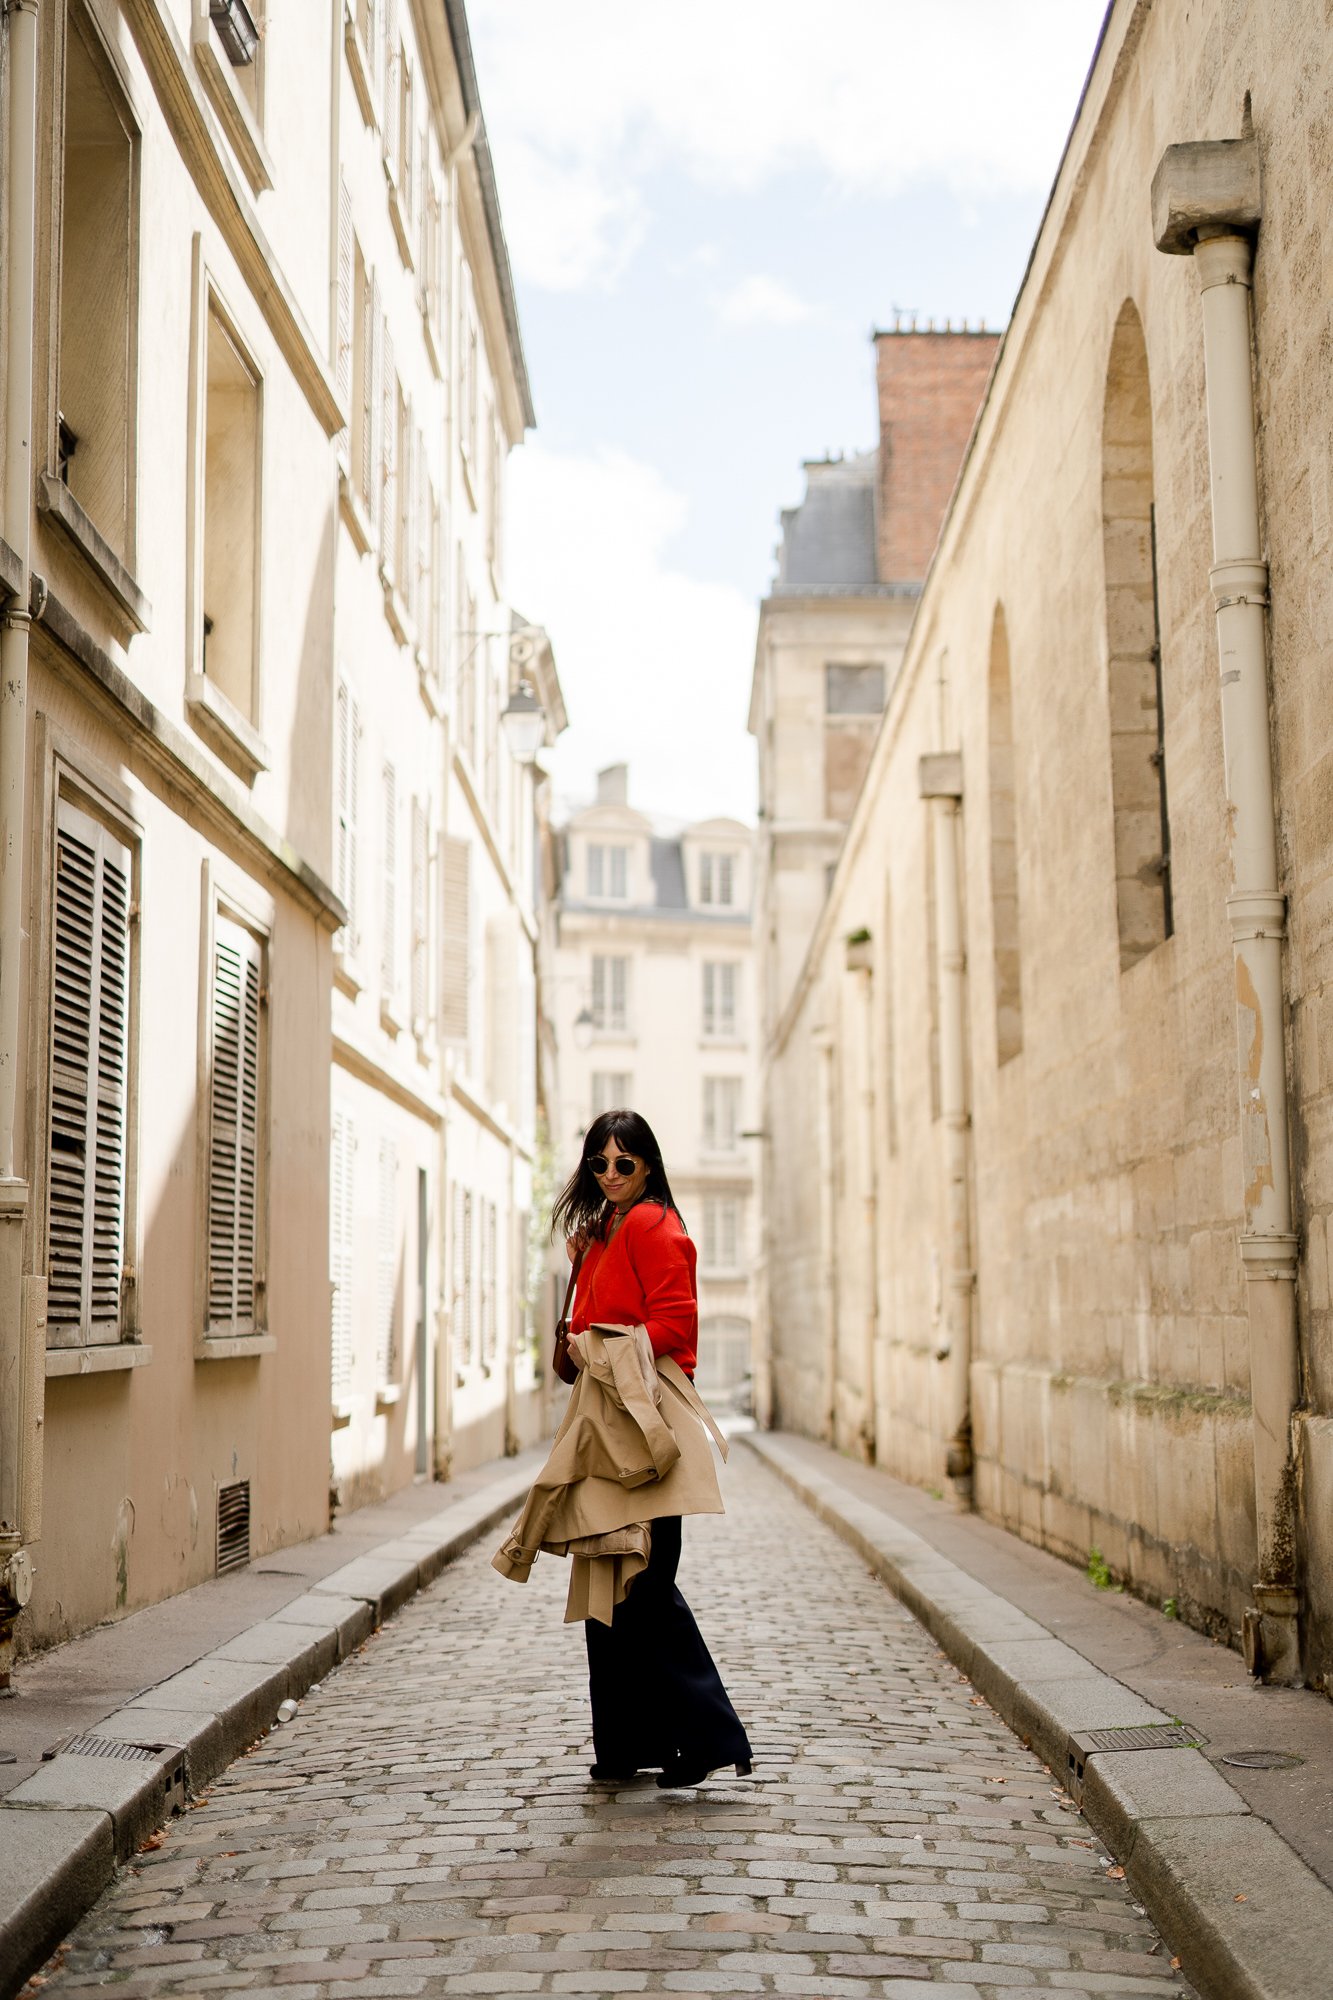
– The streets of Paris (Honestly really anywhere in Paris BUT one of my favorite views of the Eiffel Tower is from Rue de Buenos Aires, it’s absolutely ICONIC with the cobblestones and one of our FAVORITE places to photograph our family photo sessions for clients!)
– Place Dauphine (this hidden little square in always a good idea to walk through, you feel like you’re in a movie set!!!)
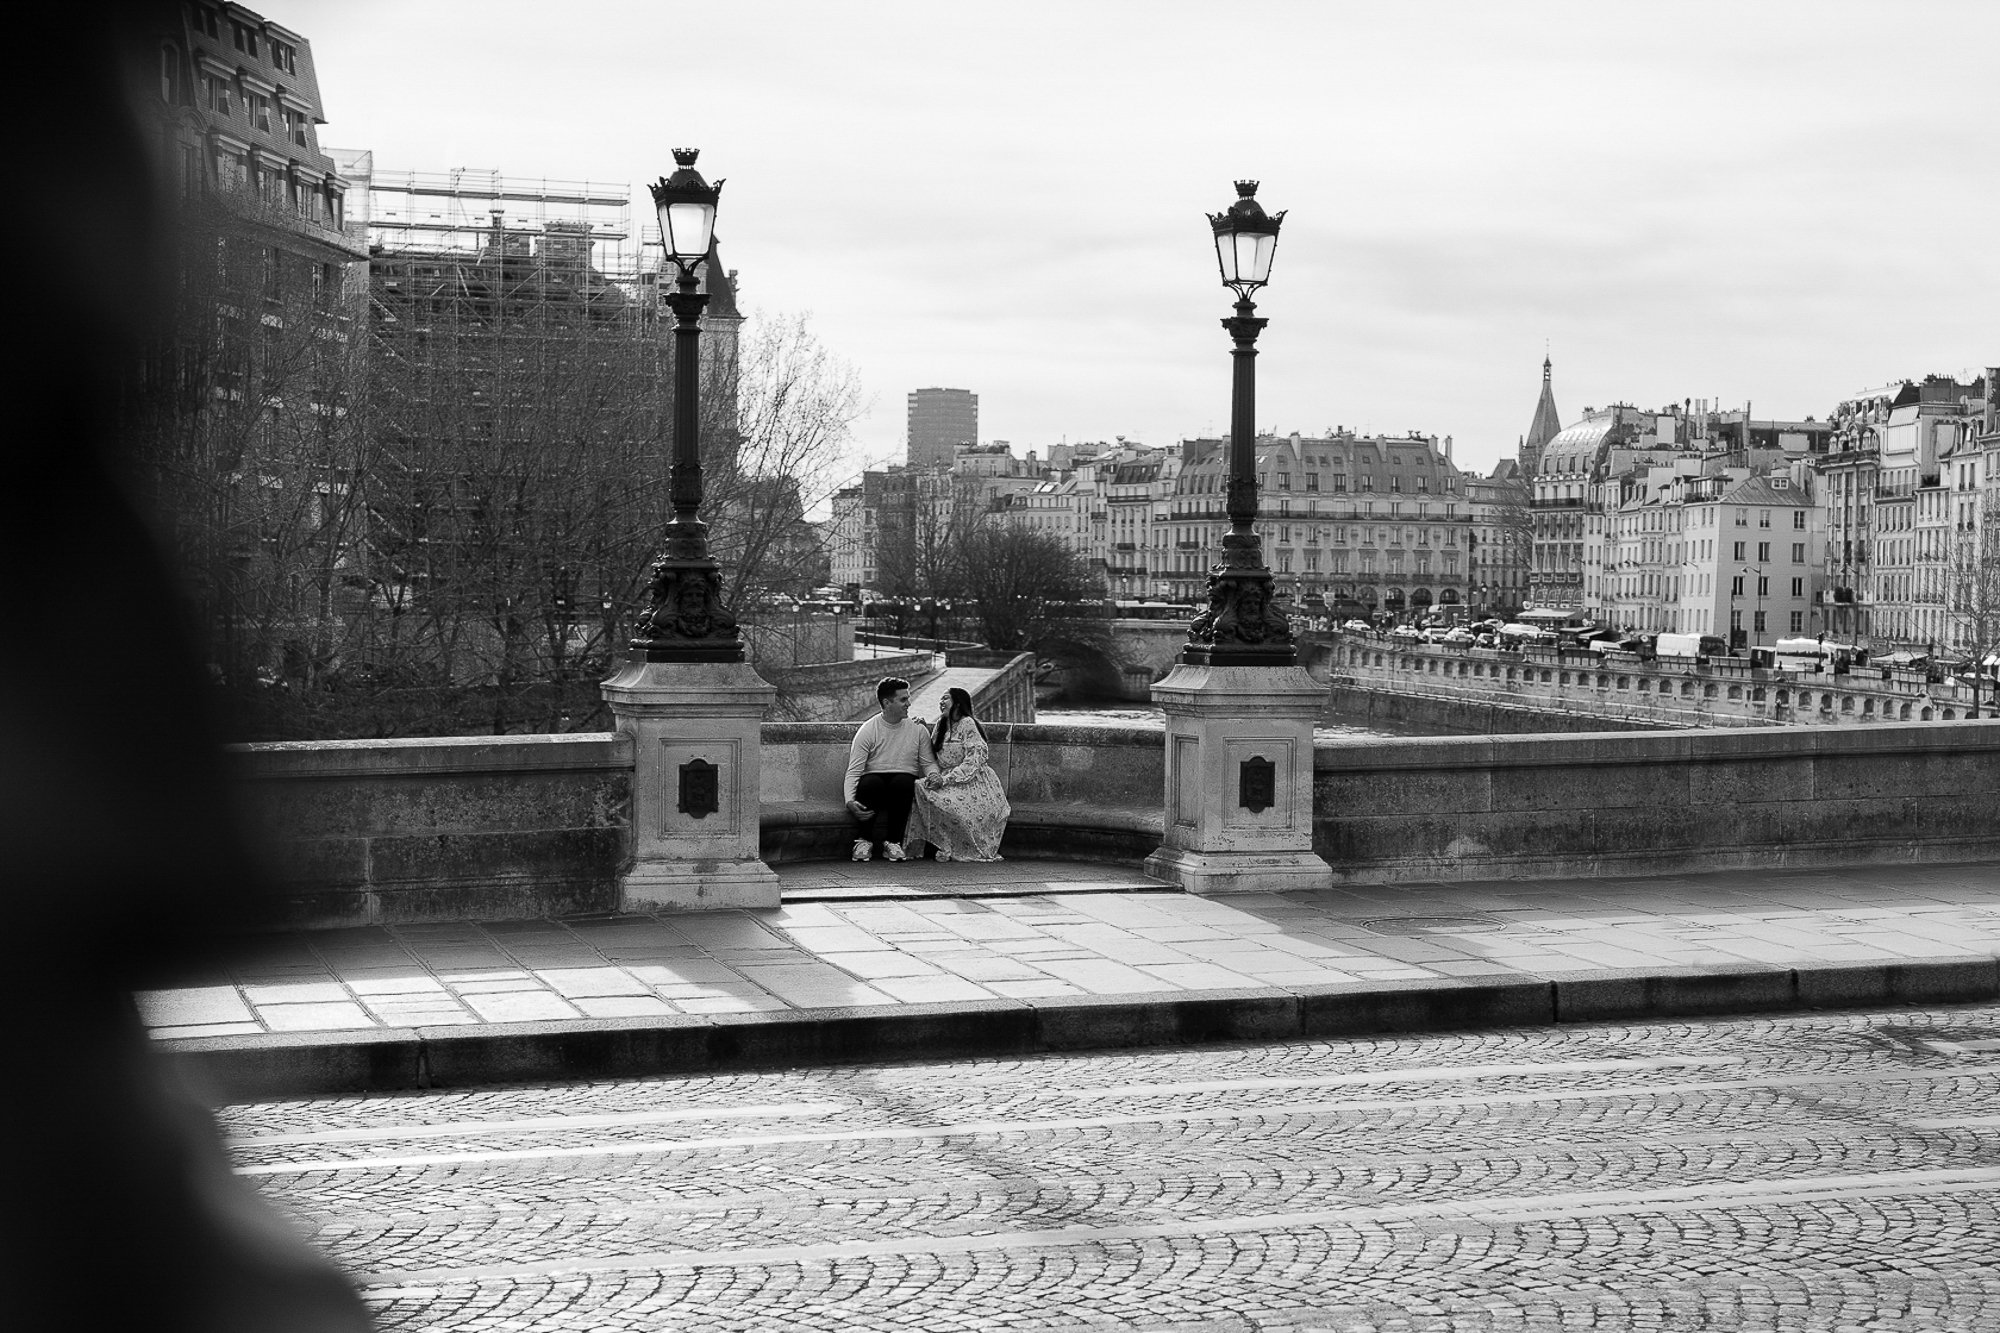
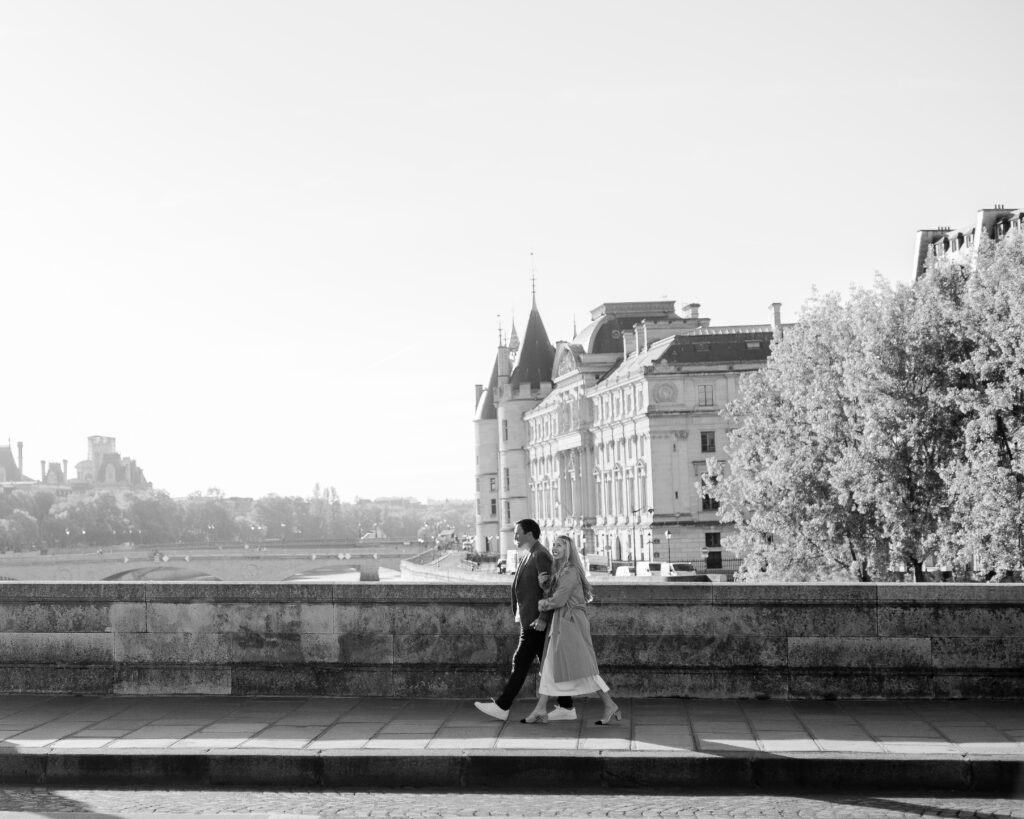
– The Banks of the Seine by Pont Neuf – This is so beautiful because of the cobblestones, the river, and the view of the oldest bridge in Paris. It’s breathtaking and really easy to miss it!!!
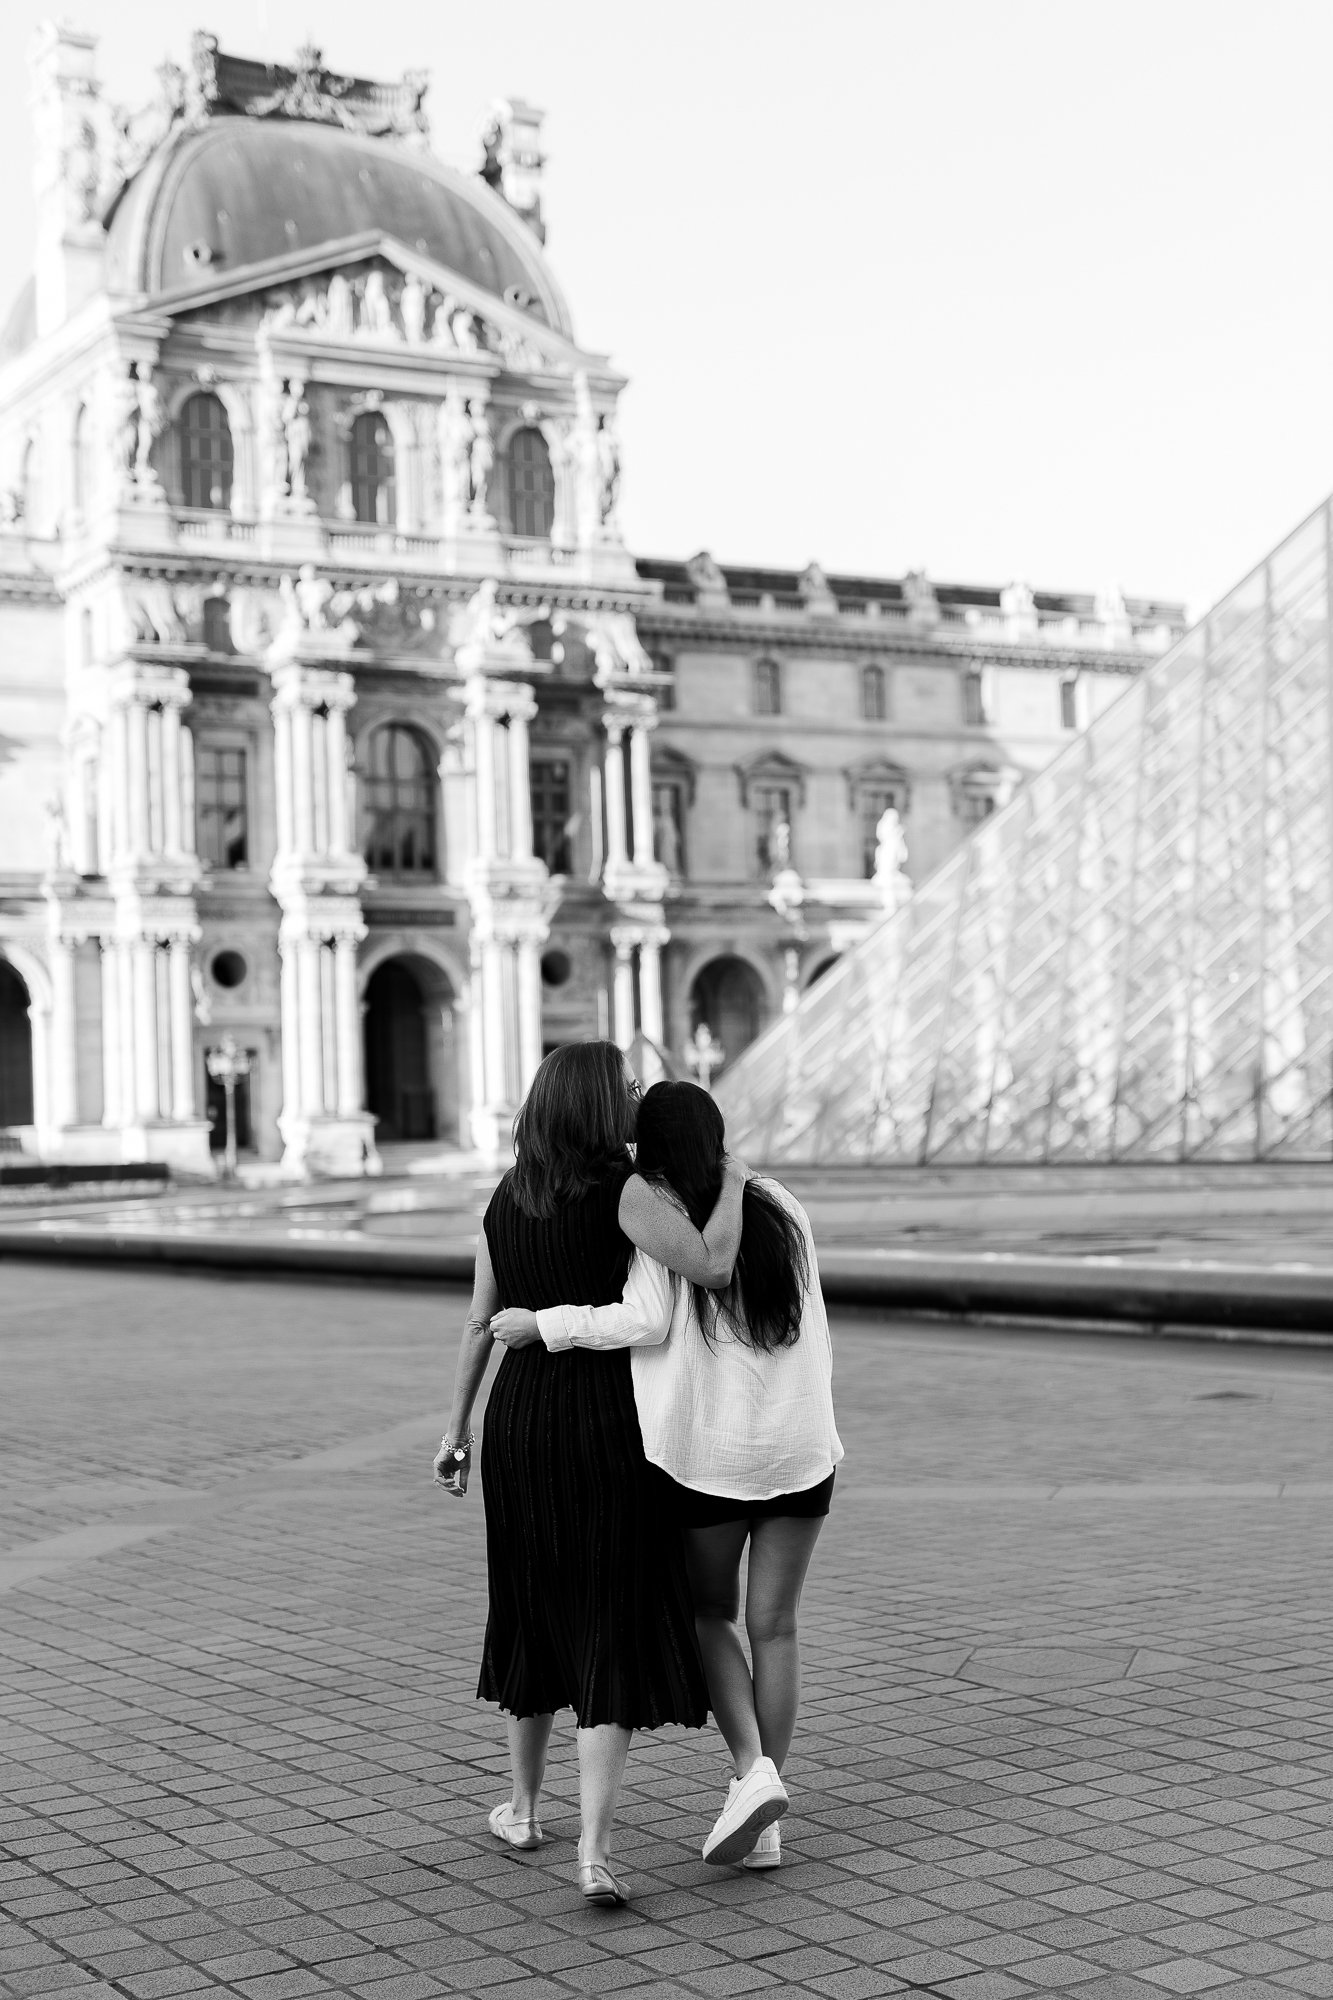
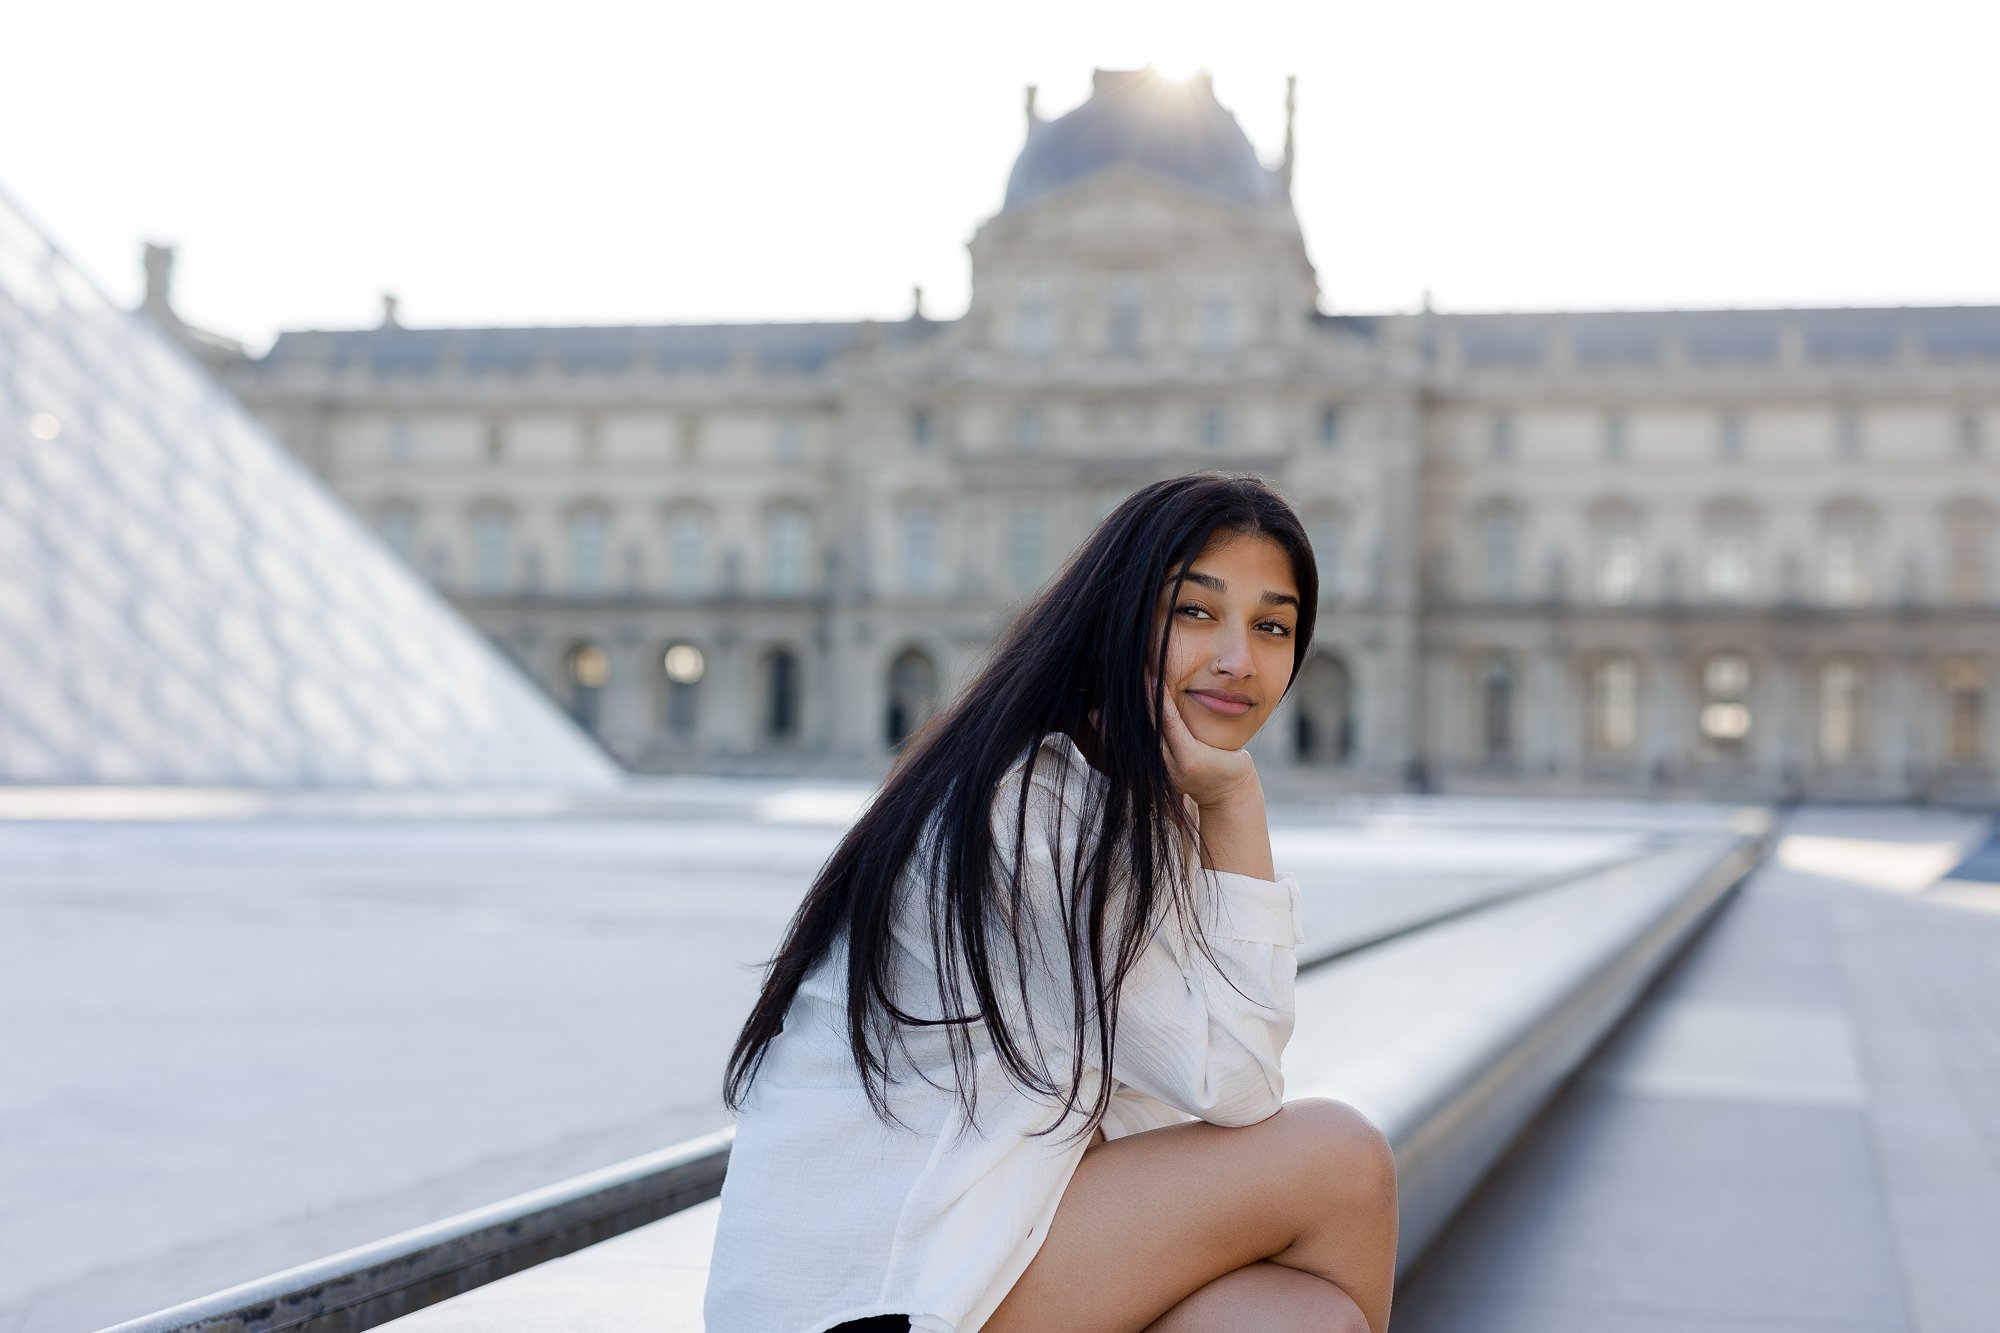
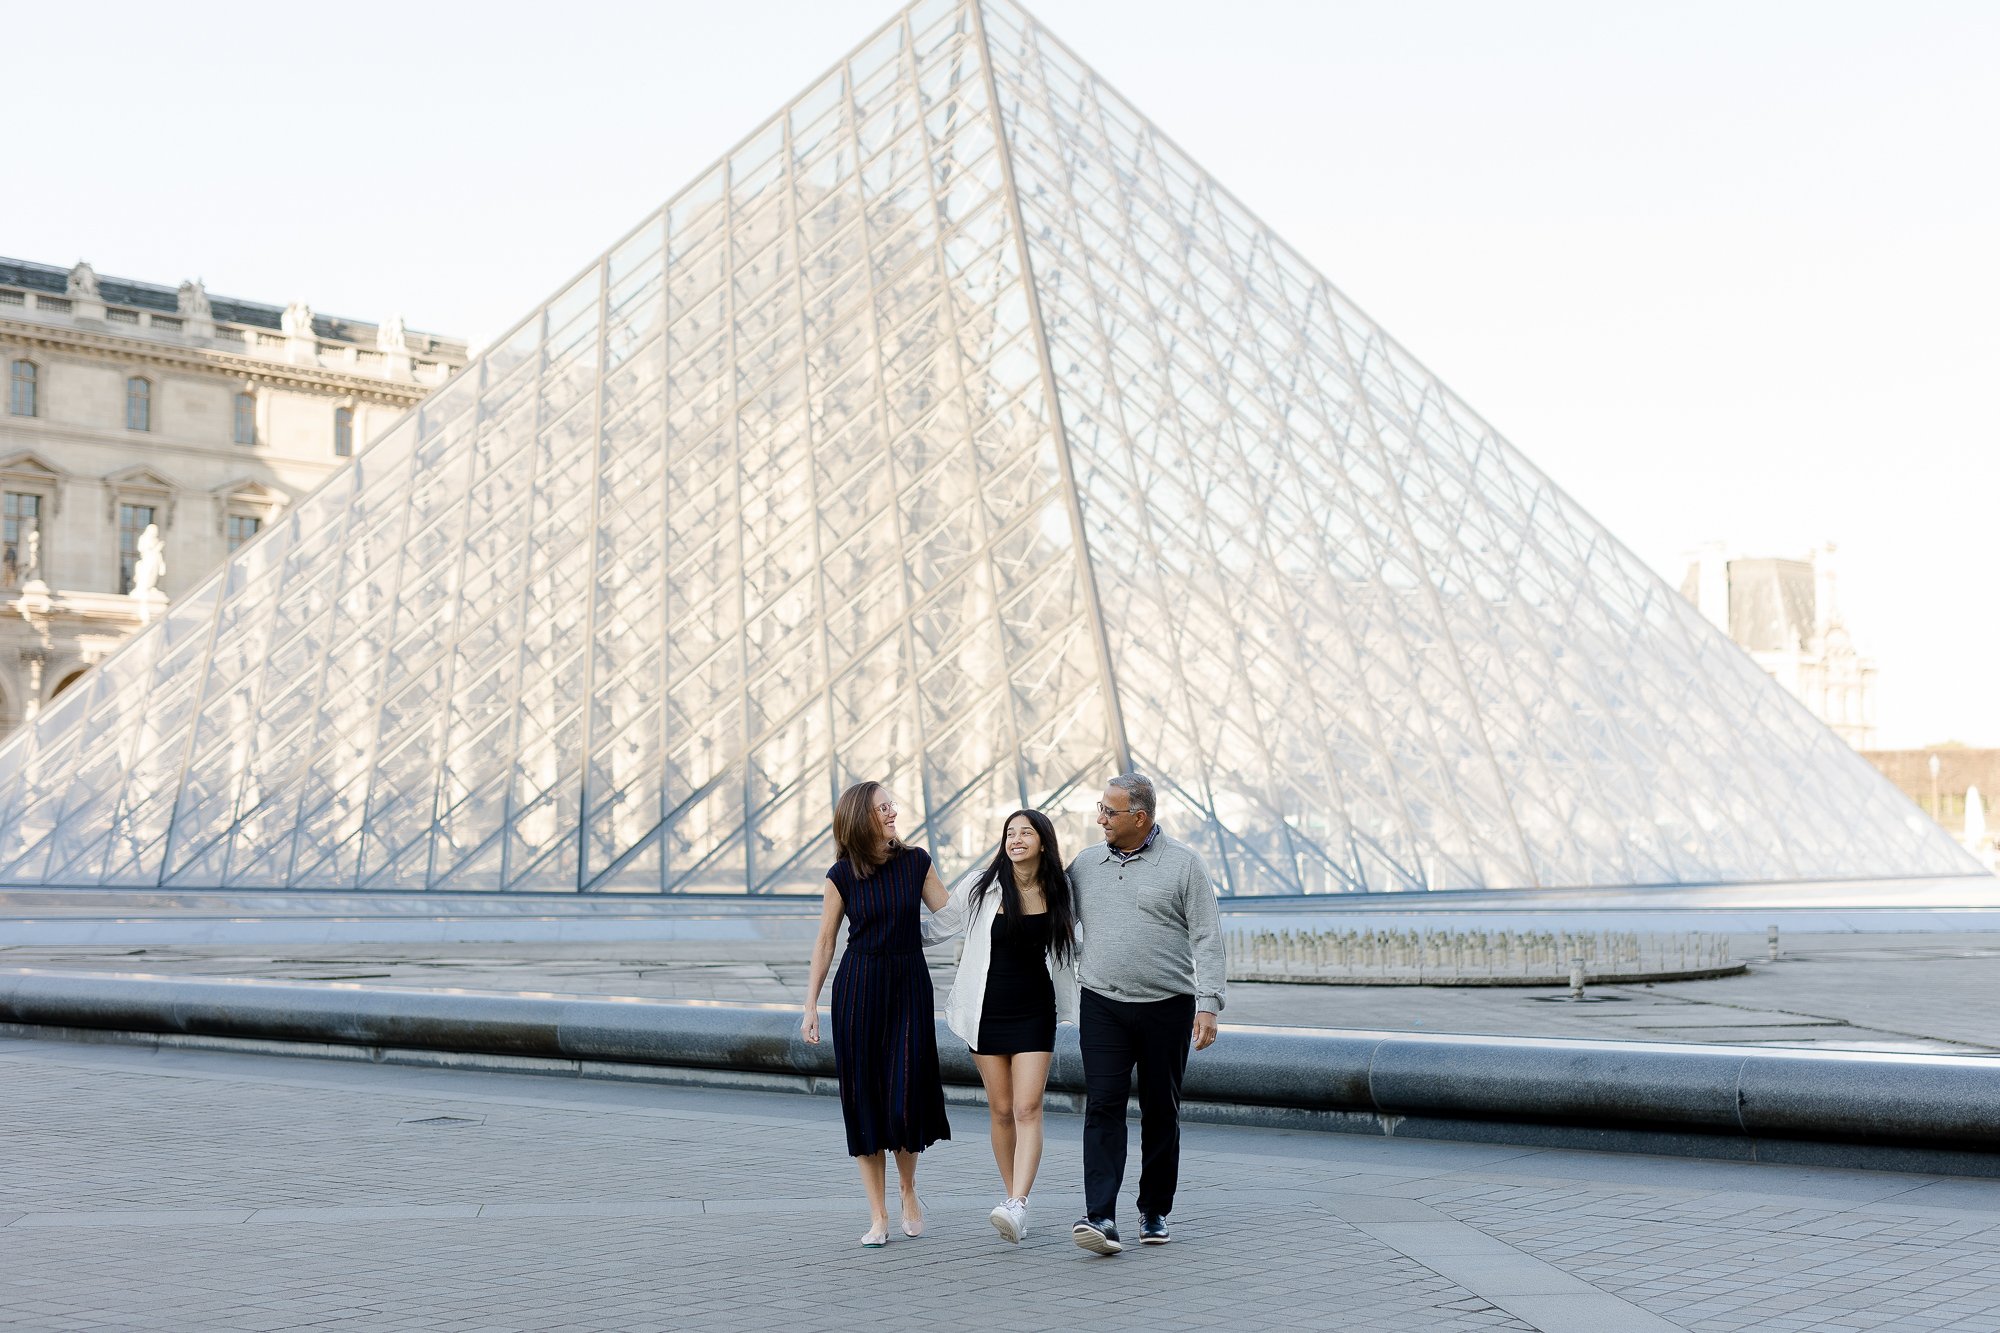
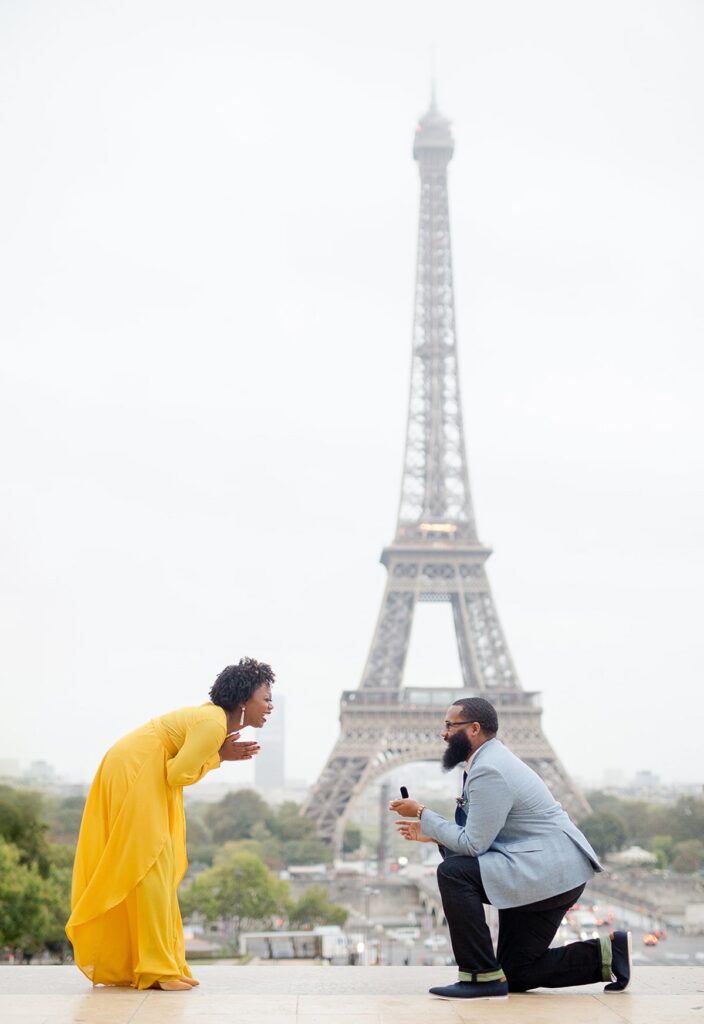
– Major landmarks like the Louvre, Eiffel Tower, or Sacre Coeur
– The cobblestoned streets of the Montmartre neighborhood. Wander around here, it’s all cobblestones and hills but WOW it’s a stunner. Sunset is so beautiful here.
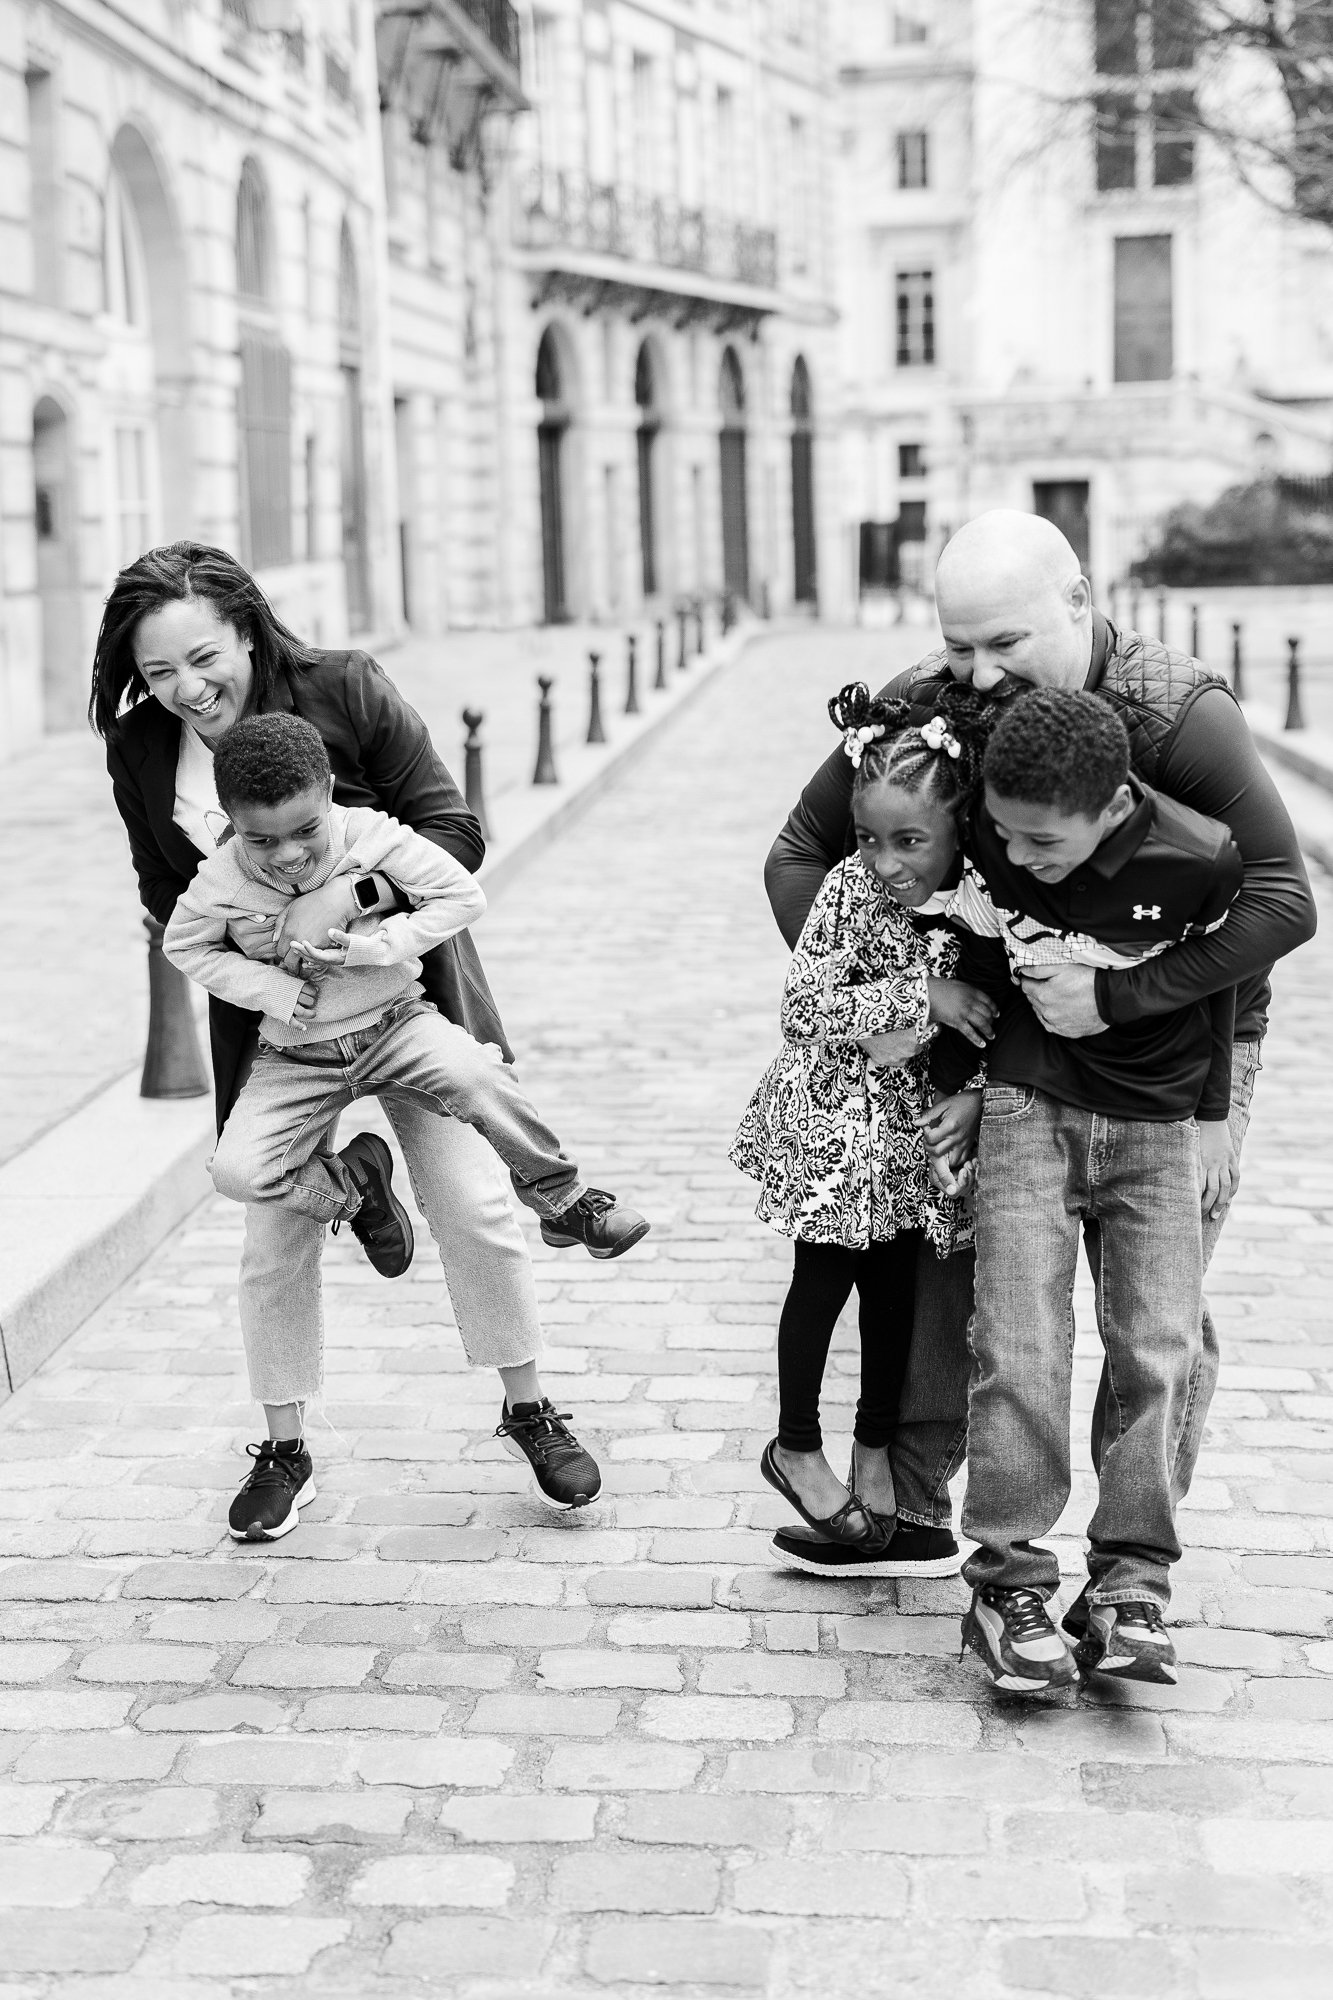
Tidy Dad and his family of www.tidydad.com, photographed by Paris Family Photographer Katie Donnelly
B. Get Up Early and Stay Late:
The best time of day to take photos is during the golden hour, which is the hour after sunrise and the hour before sunset. During this time, the light is golden, glowing, and gentle, and the shadows are stretched and striking, it’s a great way to get the quiet streets and the hustle and bustle too. The early morning is always calmer and the evenings have an energy that’s electric, especially in a city like Paris! You will get some great photos this way!
The golden hour can also create beautiful colors in the sky and enhance the mood and atmosphere of your shots. You can also capture the different phases of the day, such as dawn, noon, dusk, and night, and show how the place changes over time.
C. Look for Different Perspectives:
Don’t settle for the obvious or common shots that everyone else takes. Instead, look for different perspectives and angles that can make your photos more interesting and unique.
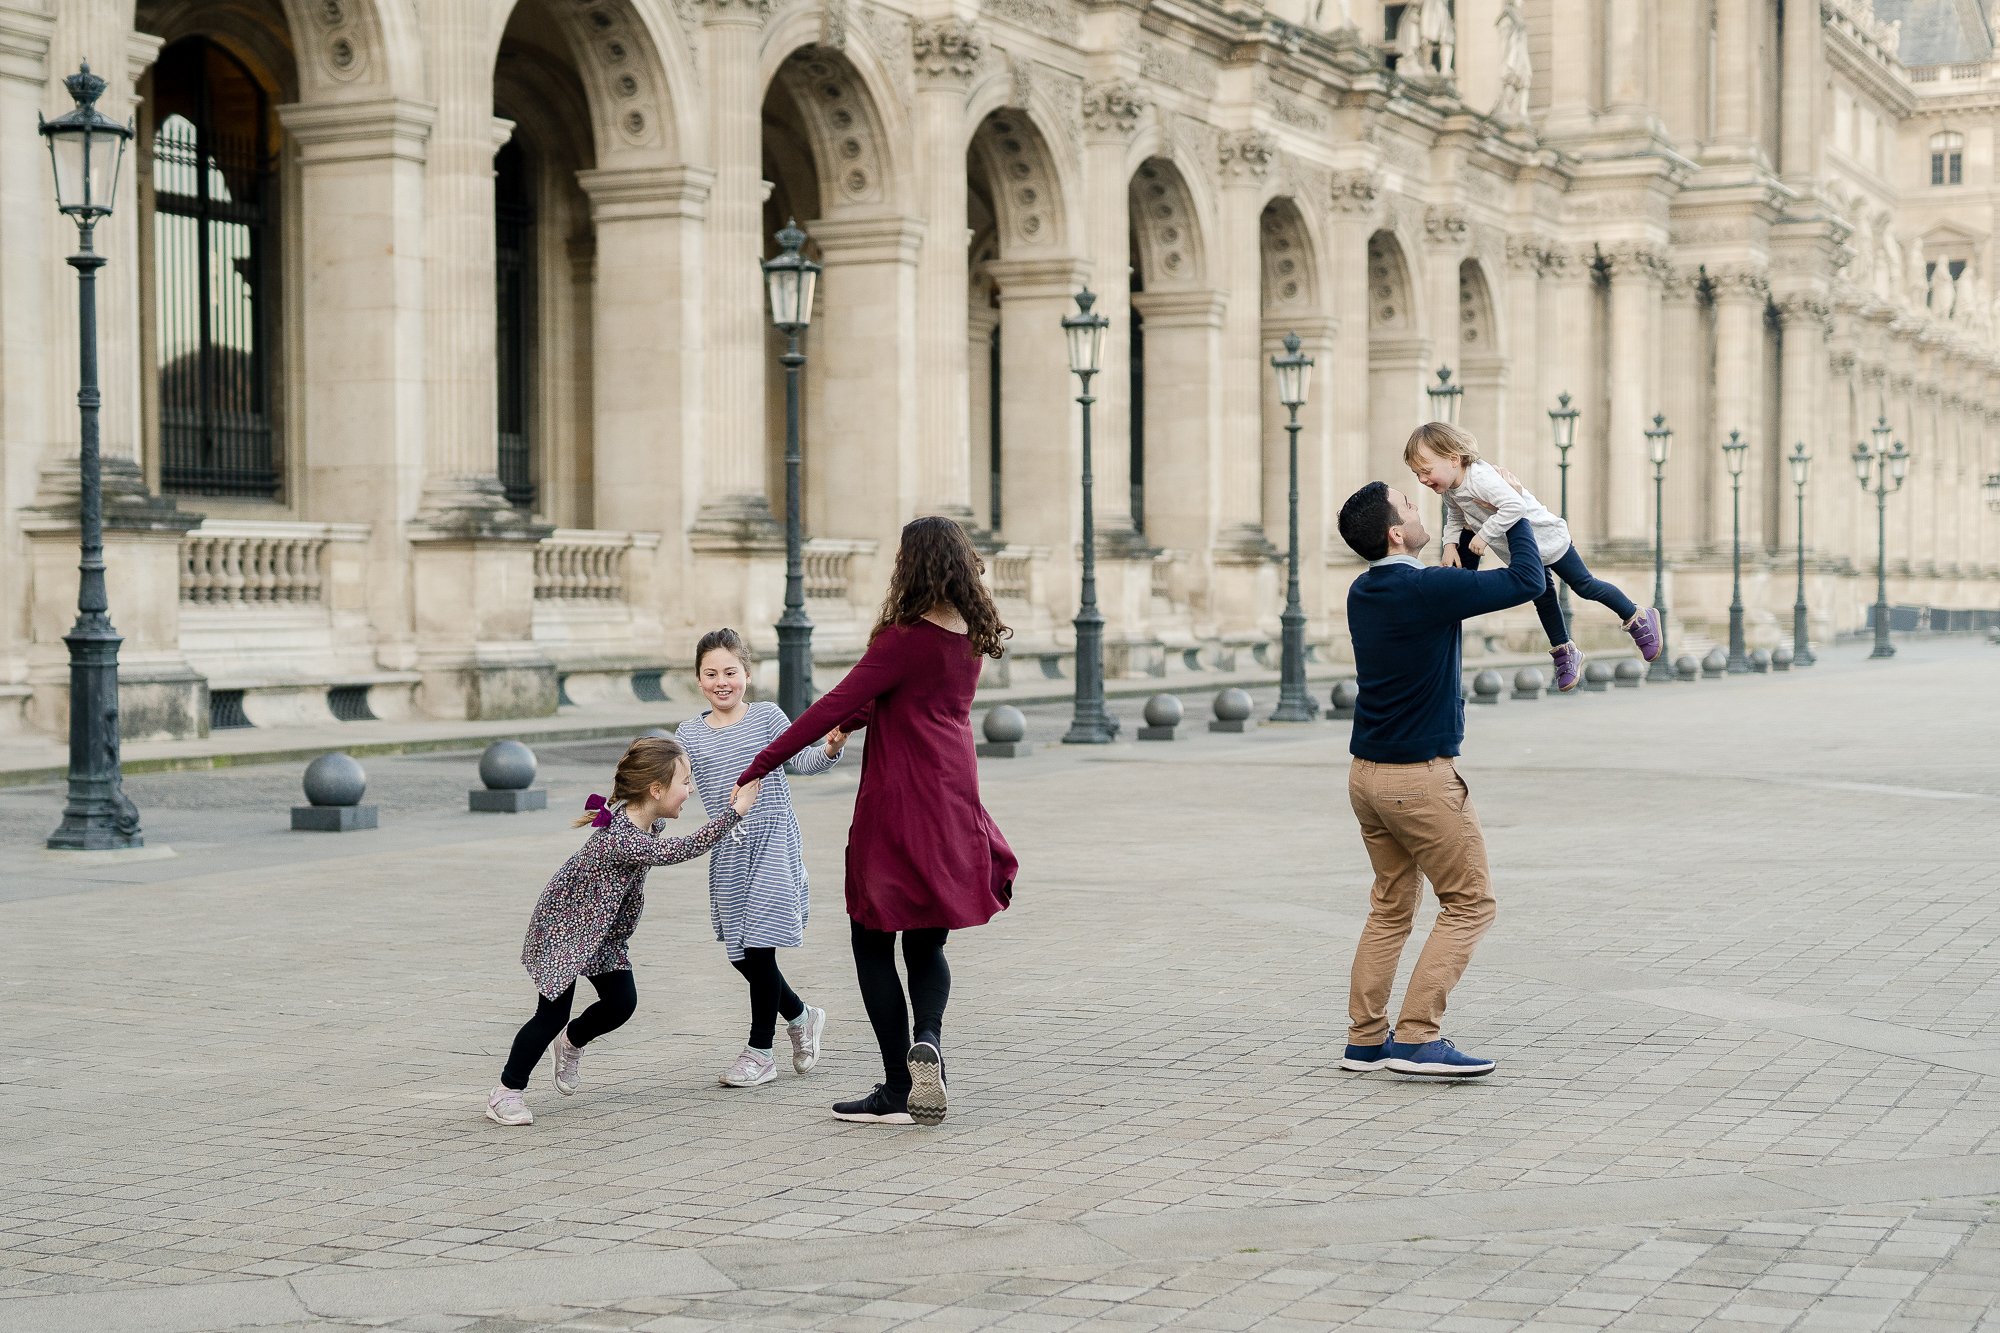
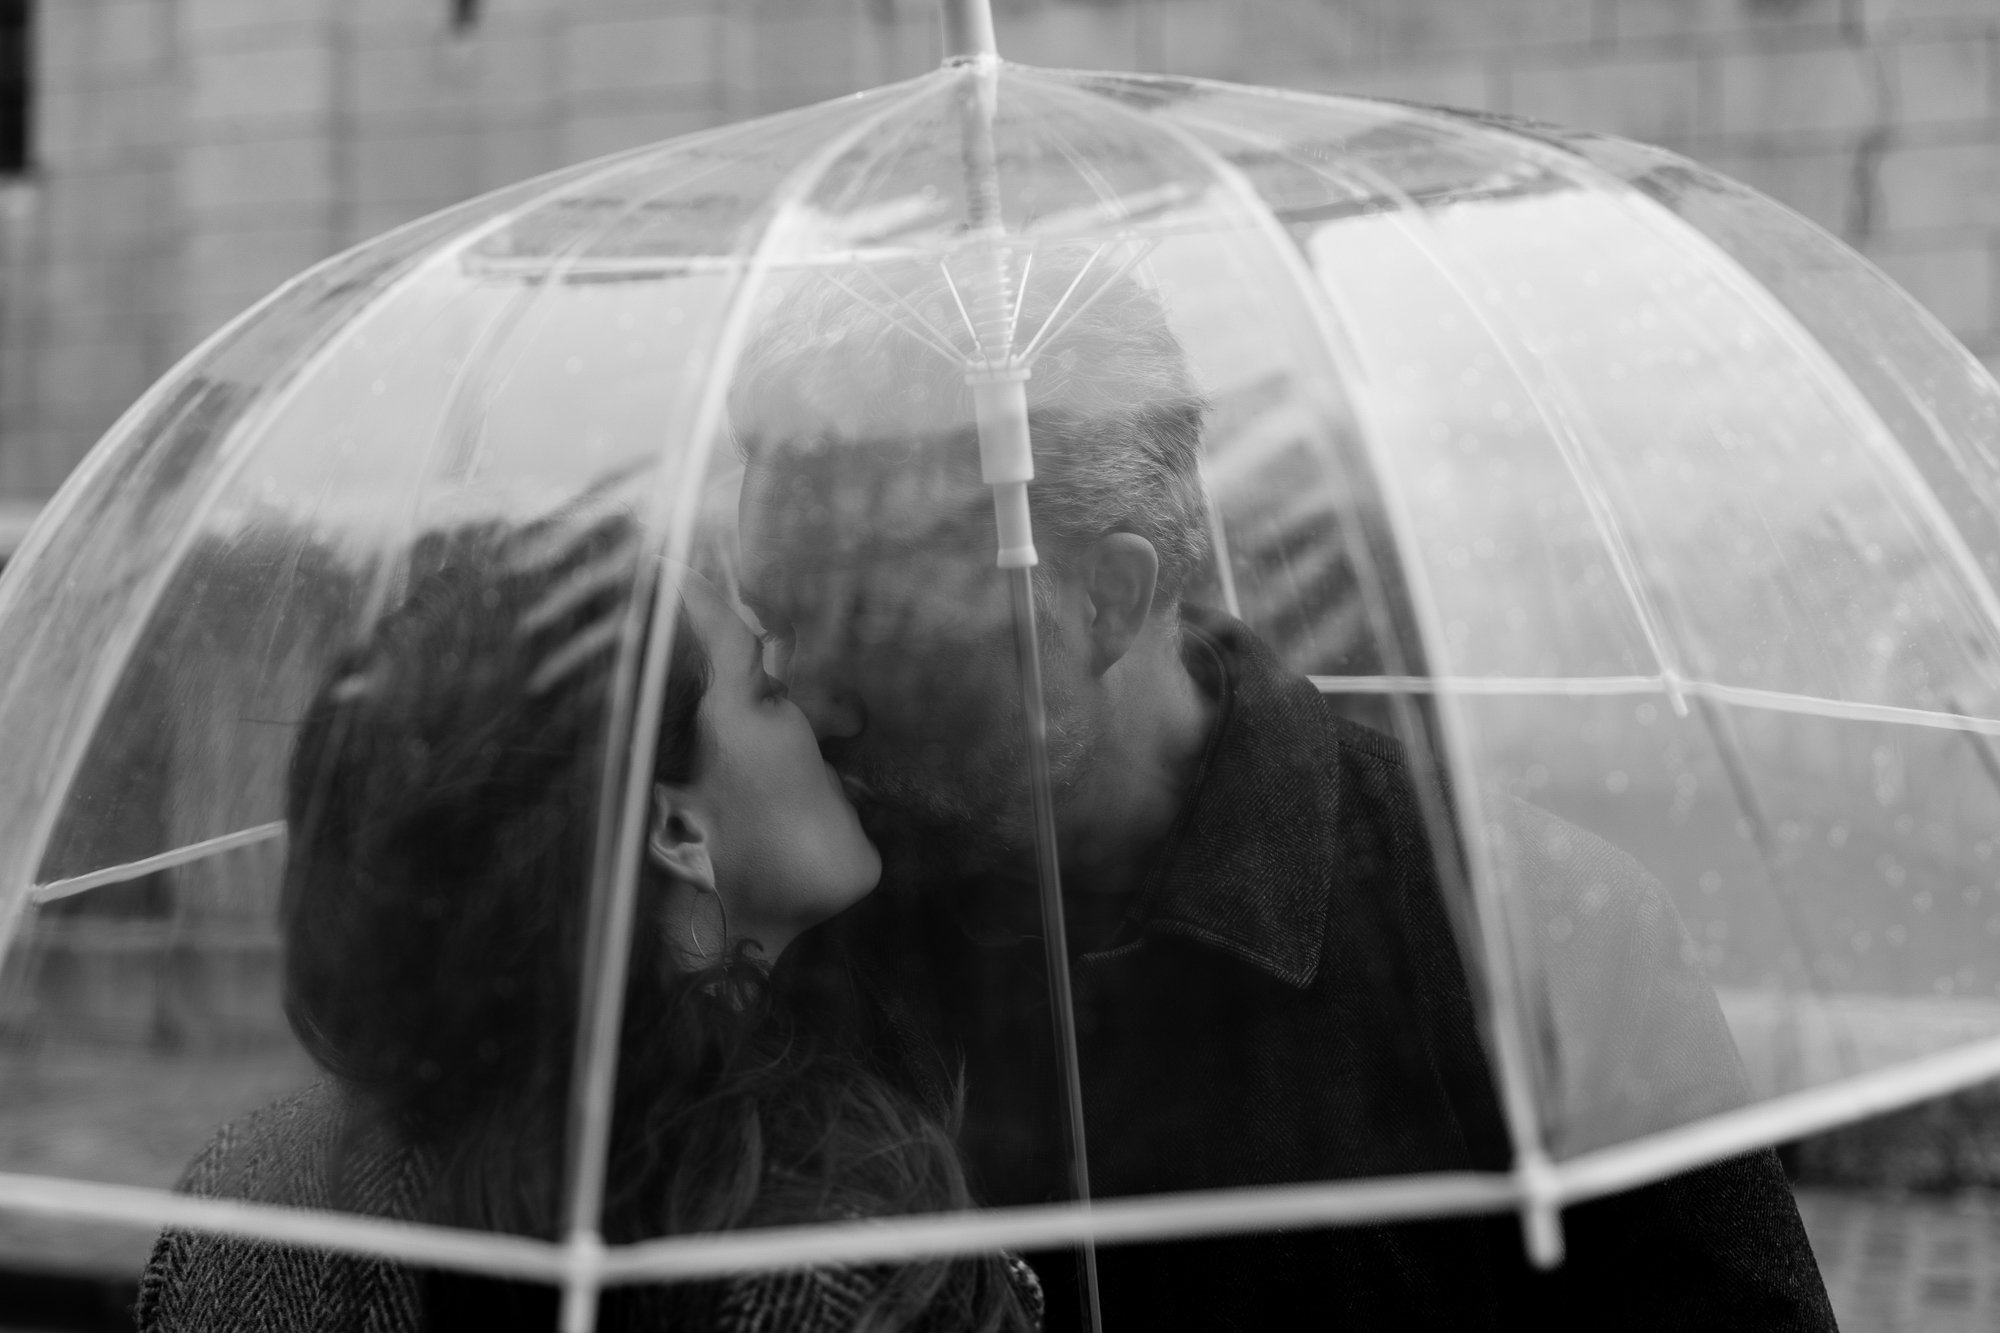
PRO TIP: If you’re with your family and kids, this means sometimes either setting up a situation (try and avoid the “cheese” everytime). You could ask your partner to look into a window of a boulangerie or your kids to walk across the street to have them IN the street scenes but not ONLY posed. It and can feel more like candid photos which everyone loves. It also gives a really nice feeling of the story of your travels and adventures in a new place.
Rebecca of www.everydayparisian.com
You can try shooting from a high or low point of view, from a close or far distance, from behind or in front of an object, or from inside or outside a building. If you’re on a place that allows it (like a beach!), you can also use a drone or an action camera to capture aerial or underwater shots that are otherwise impossible to get. For this, you definitely do need to be sure you have the correct camera equipment. An easy underwater or adventure camera is a gopro!
D. Use natural elements:
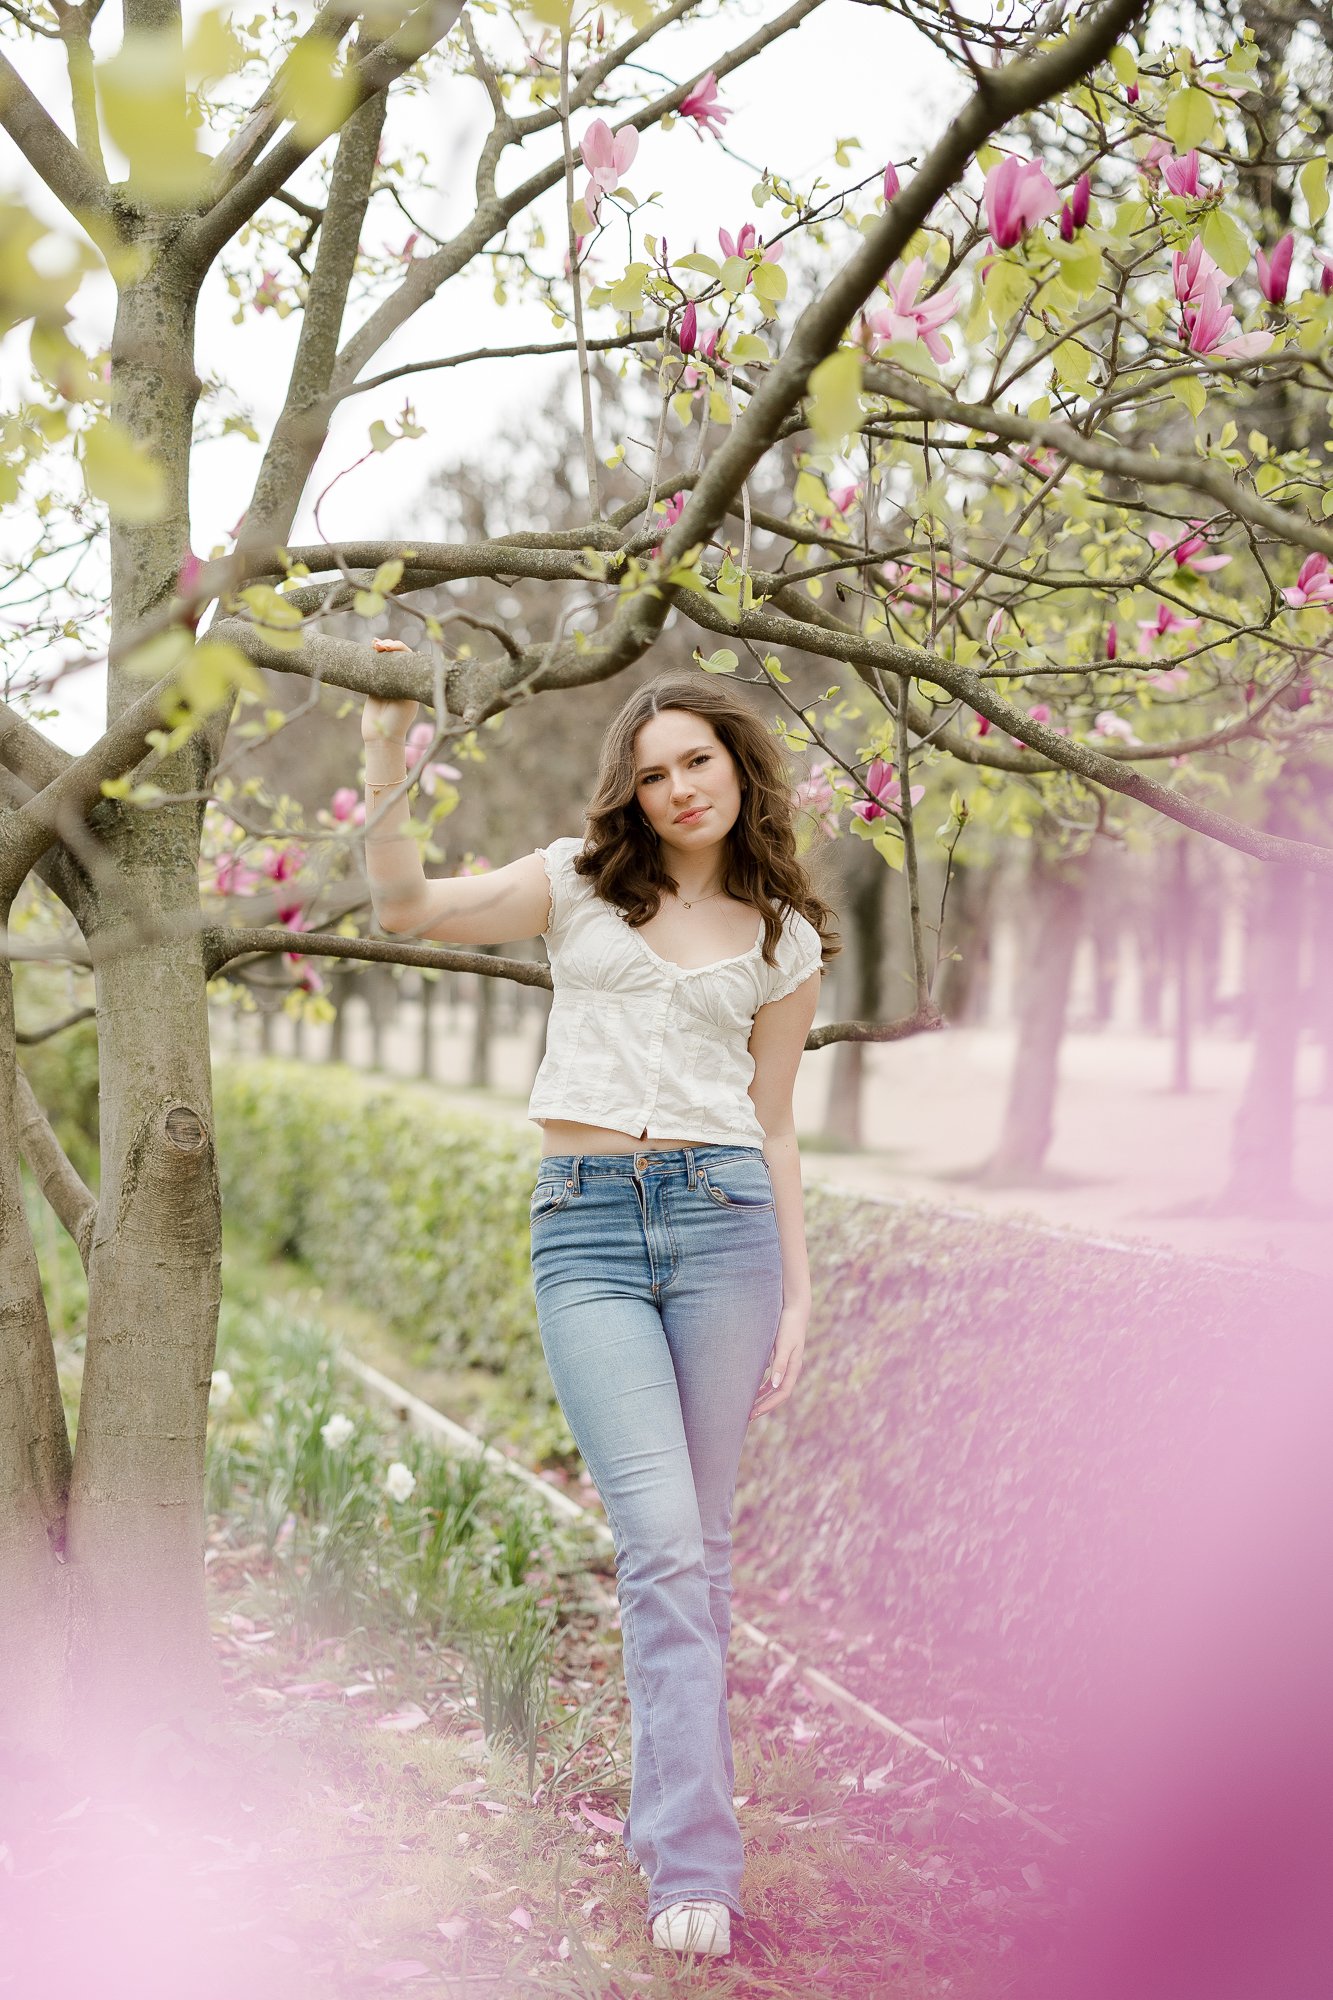
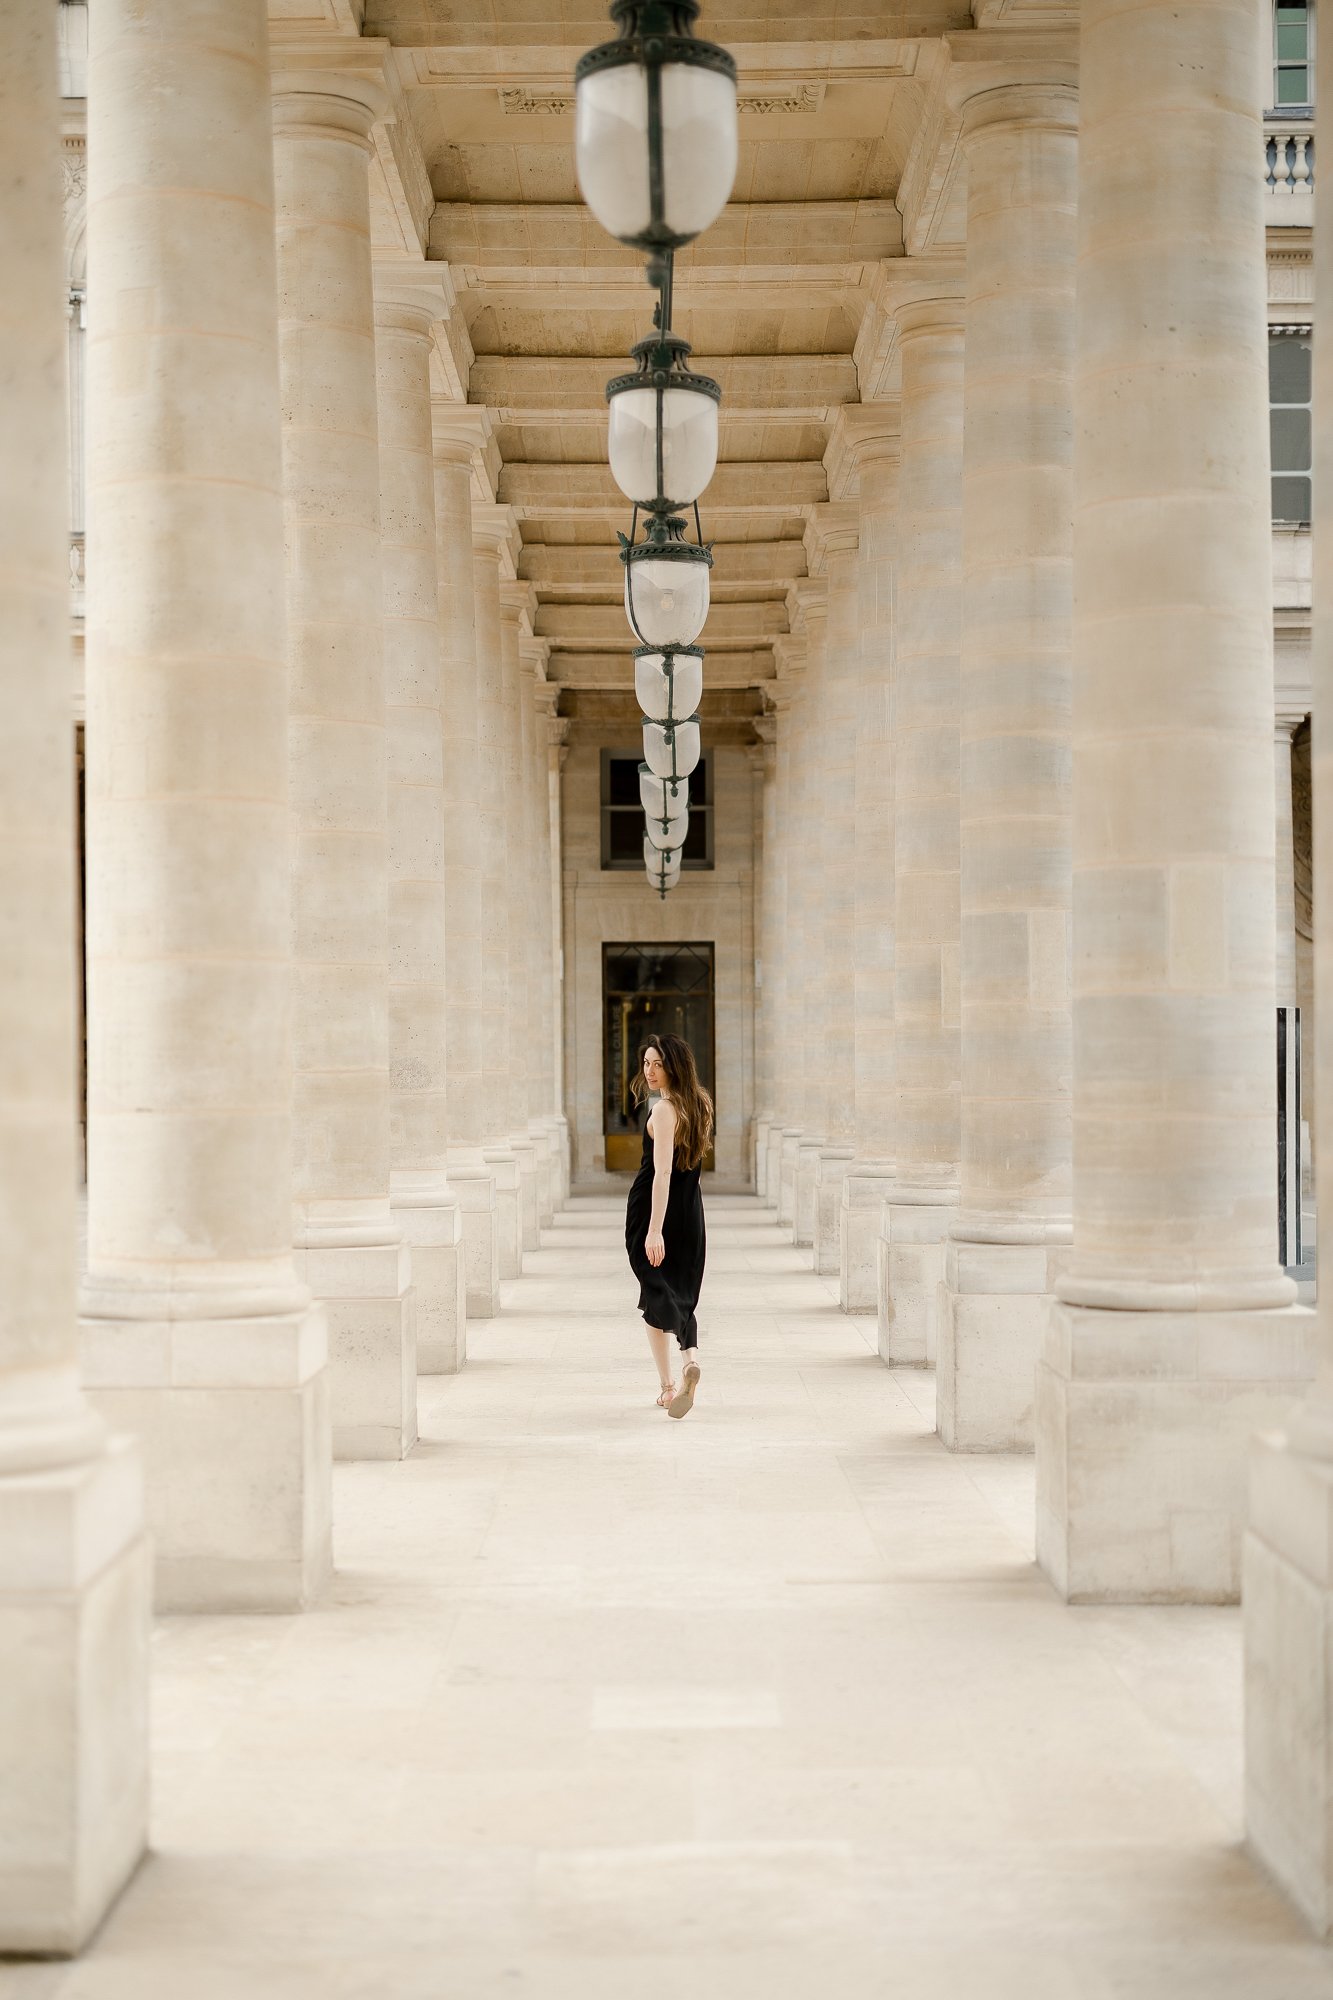
One of the easiest ways to improve your travel photos is to use natural elements as props or backgrounds. For example, you can use trees, flowers, rocks, water, clouds, or mountains to add some color, texture, contrast, or depth to your shots. My absolutely favorite ones in Paris are: Boulangeries, doors, street lamps, fountains, storefronts, and iconic buildings like the Pantheon or the Eiffel Tower. You can also use natural elements to frame your subject or create a leading line that draws the viewer’s attention. Placing natural elements slightly off center and using the rule of thirds can also add some variety and interest to your family photographs. Natural elements can also help you tell a story or convey a message about your destination. You’ll be able to instantly place where you are if you have natural iconic things that are ONLY in Paris or France.
E. Get the right expressions and moments
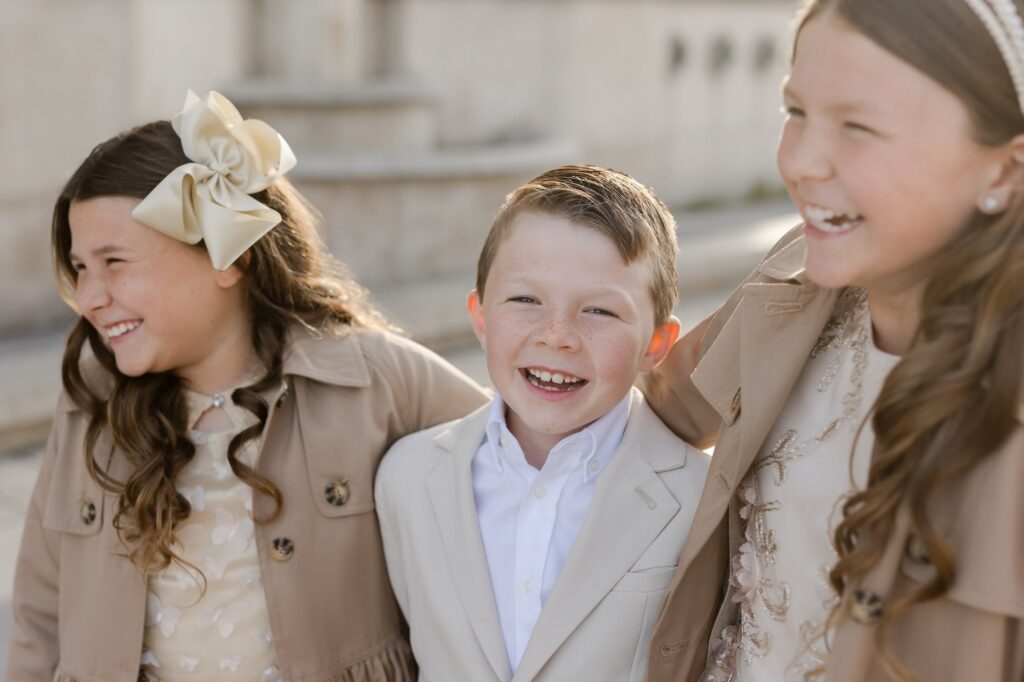
Sometimes you have to wait for a moment or expression, sometimes just grabbing a shot of your family walking ahead of you can speak volumes. Try to not spend the whole time asking your family to look at you, watch and try and capture the small moments of your trip like your daughter ordering food at the cafe or going around the carousel (you can find the oldest working carousel in Paris in the Jardin du Luxembourg! Not to be missed by any kids 2-8!!)
Family travel photography is about showing the story of what you’ve done together. Think big and small, wide shots to show the landscape, and small details like the crumbs of your daily croissant. They are all meaningful and can honestly portray your adventure together.
Don’t forget to have fun and also be IN some of the photographs too! And DEFINETLY don’t forget to print them and make an album at the end. Do not let these images live and die on a hard drive. From your favorite Paris Photographer, I’m BEGGING YOU, print your photos, even from an iPhone, Okay? Promise??!
Conclusion:
Taking great travel photos with your family requires some planning and effort, but the memories you’ll capture are priceless. Choose a versatile, durable camera that’s easy to transport.
Find photogenic locations, and make sure to visit during golden hour. Scout different vantage points and use natural elements and different things to make your compositions more dynamic.
Most importantly, be flexible and keep your family’s needs in mind. Make sure to get plenty of candid shots in addition to posed ones. Have patience if you need to wait for the perfect expression. And don’t forget to hand off the camera and get in some of the pictures yourself to commemorate your time together.
Now that you know how to make stunning family travel photos, why not give it a try? Share your photos and stories with us, and follow us on Instagram for more travel photography inspiration. We can’t wait to see what you create! 😊
About us:
Hey guys! I’m Katie, Paris photographer and the owner of Katie Donnelly Photography, a full service family photography studio in Paris, France! We are a team of english speaking photographers in Paris (Voted best Portrait Photographer in Paris)! You’re in the right place if you are looking for joyful, natural, and fun mini sessions and photo shoots in Paris and a 5* experience (check out our google reviews!), but it’s not all we do!
We are artists and our specialty is wall art and fine art photo albums (you can see Amanda’s above!). Book your session or ask for more info if you want to have an amazing experience, gorgeous portraits, and artwork to celebrate and relive your Paris vacation every day. We are definitely one of the top things to do in Paris for families and we would LOVE to have you as part of our family!

