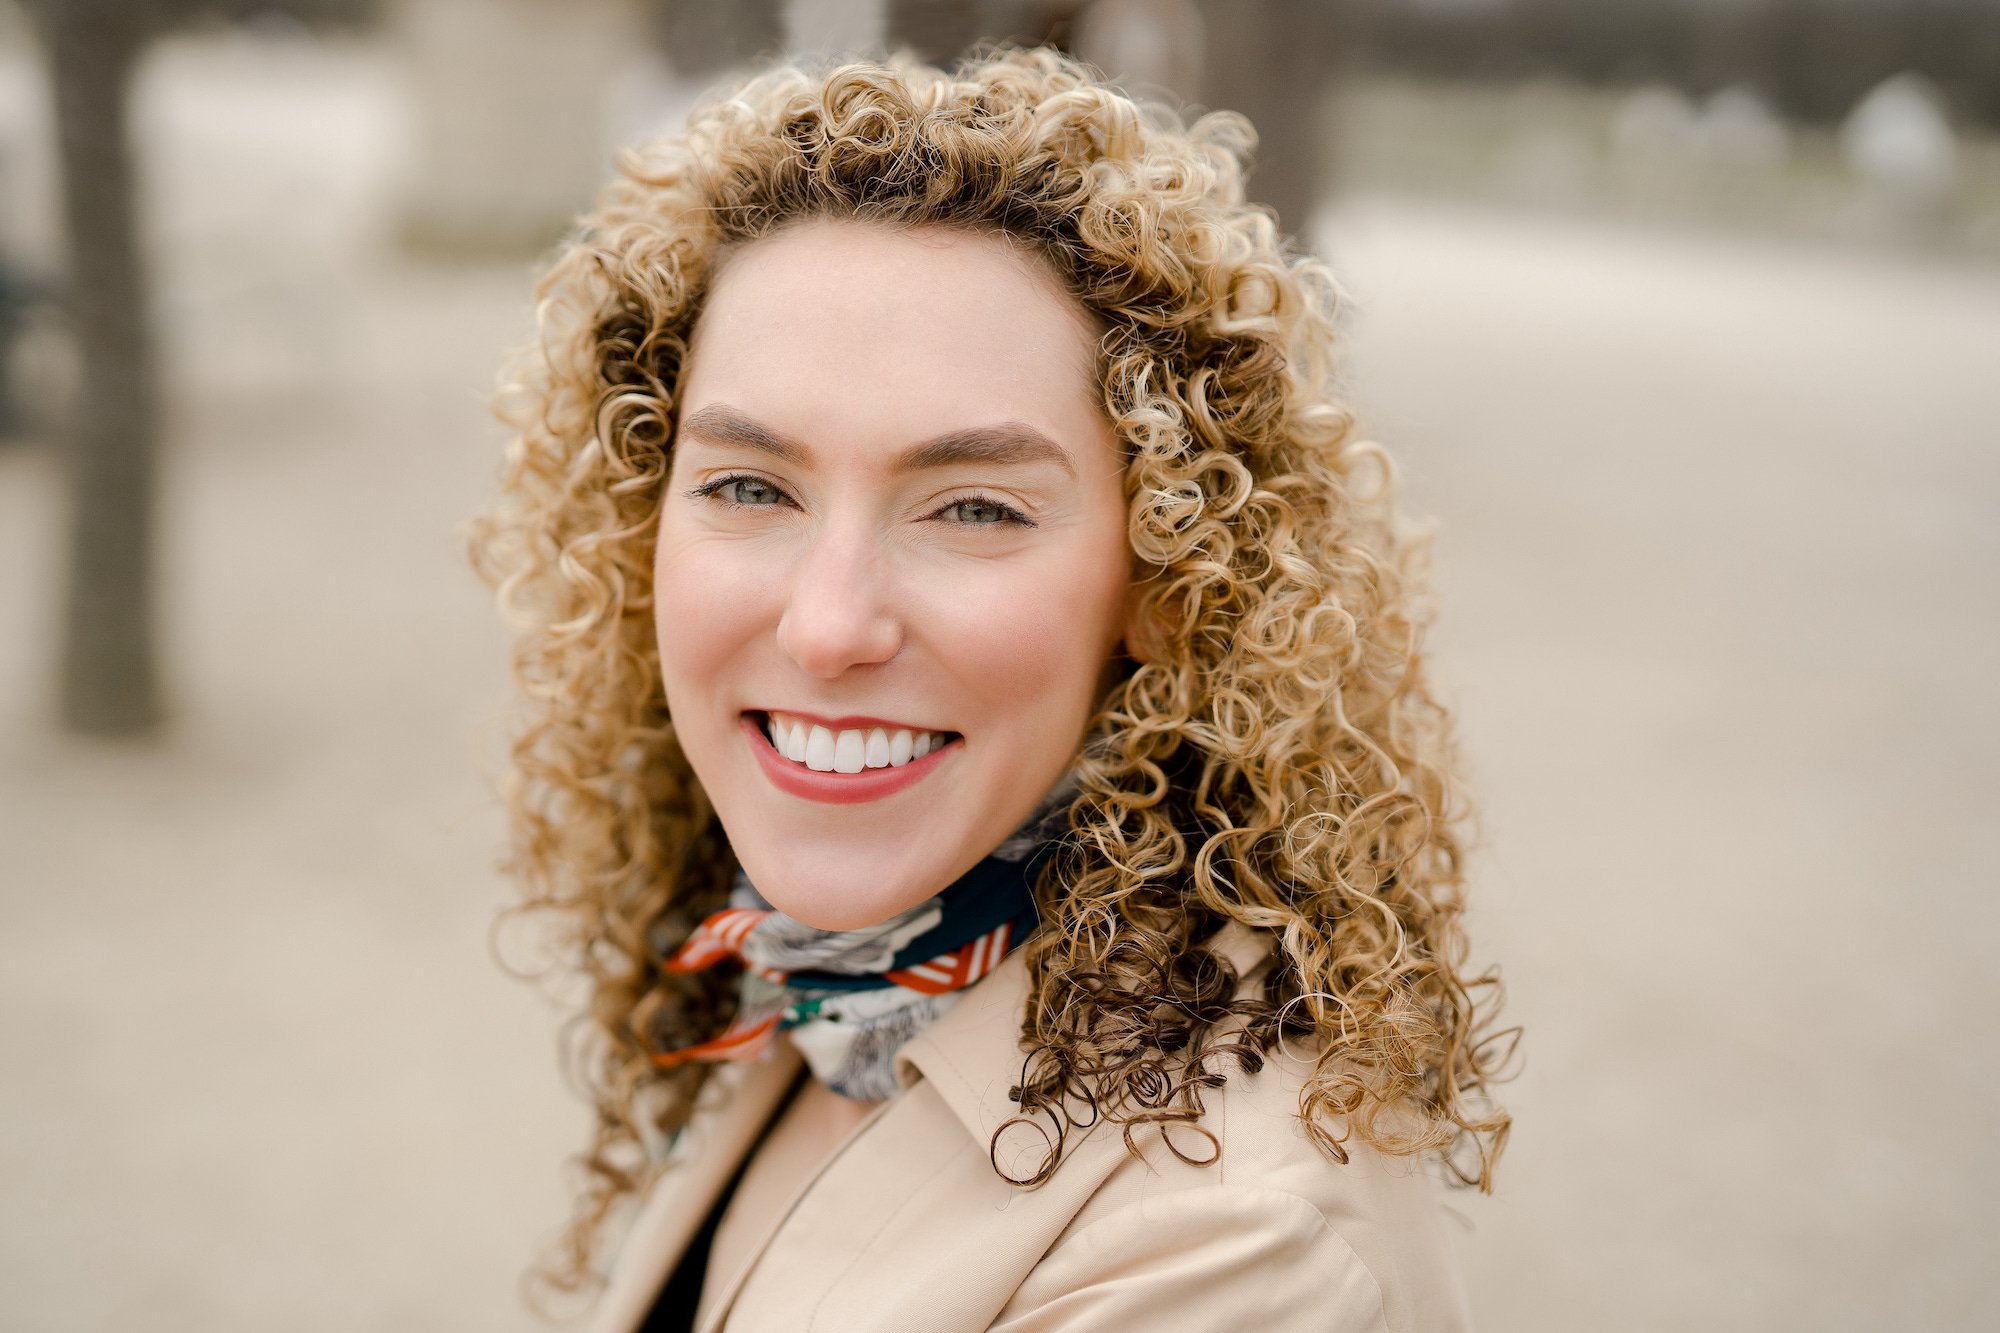
So, you’ve booked a professional photoshoot (maybe for the first time ever!), and you’re psyched! I’m psyched for you too!
But then, the panic sets in: “What should I do with my face?!”
Don’t stress, we’ve got your back. One of the most common questions we get asked by clients is about makeup. “Should I wear makeup for my Paris photo shoot? What kind of makeup should I wear for a photo shoot?”
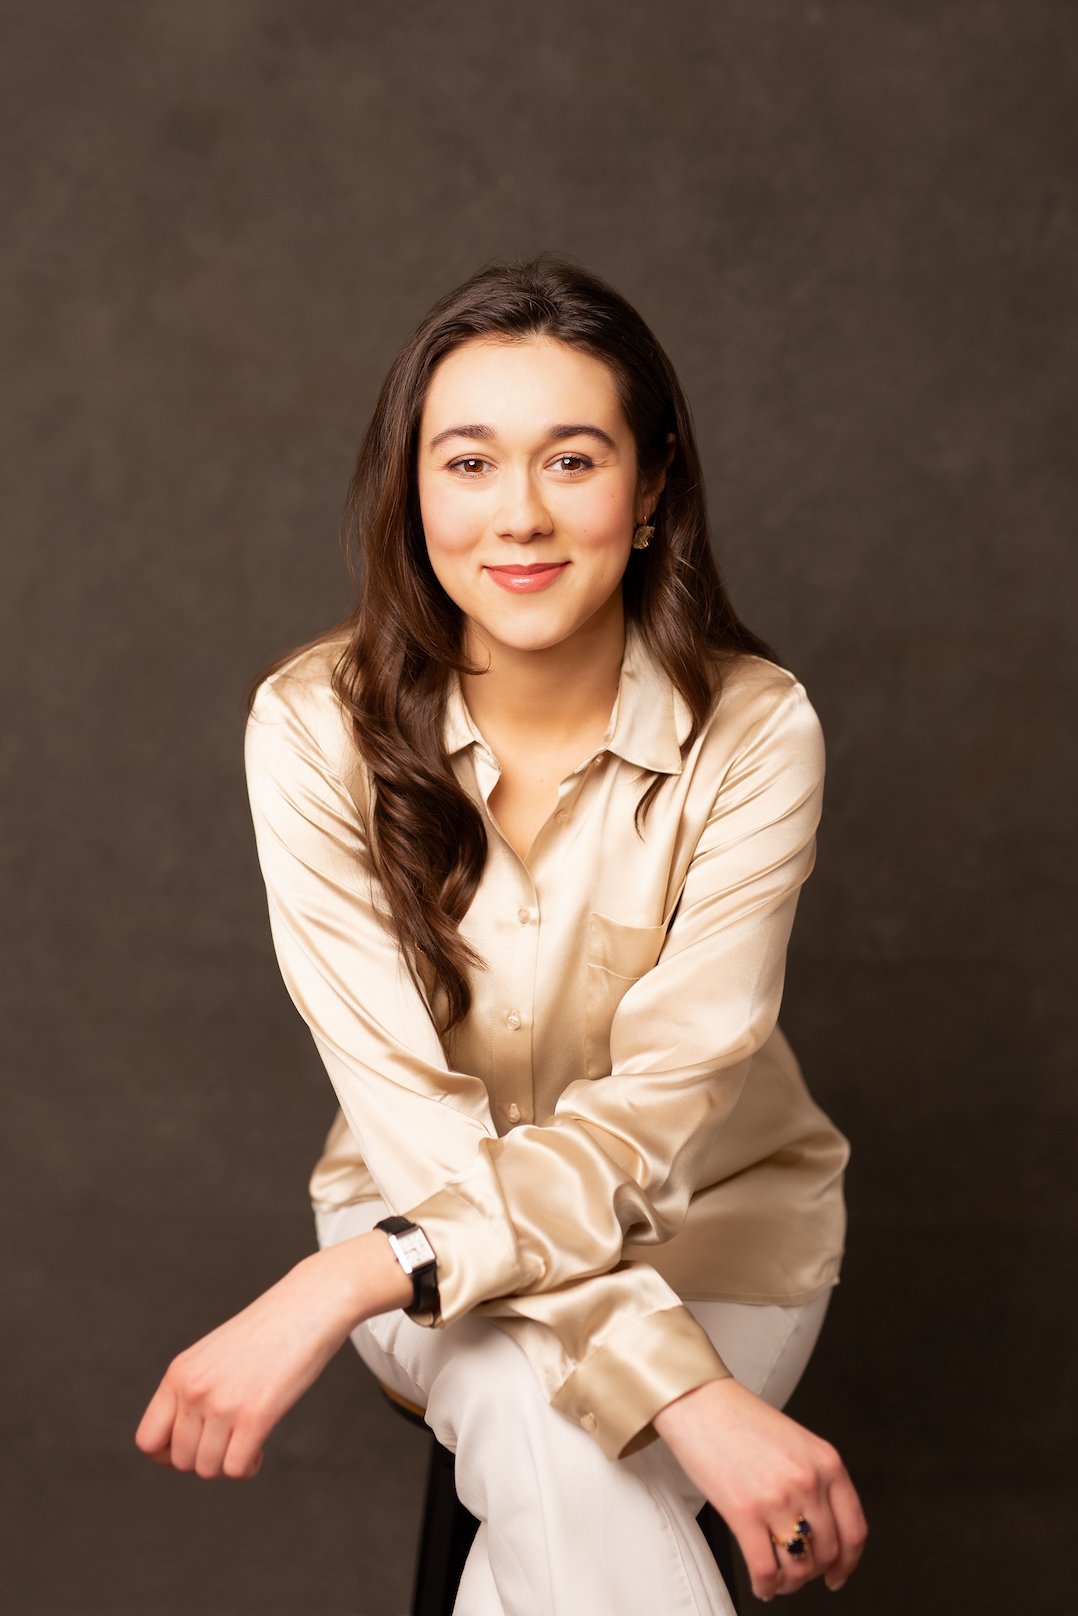
The truth is there isn’t one single answer to this question because it really depends on the Paris photo shoot and the person. I have worked with all-natural clients and glamorous divas alike. What I can say for sure is that the portraits turn out stunning either way, the important thing is to stay yourself.

Some clients choose to hire a professional makeup artist. (We have a few recommendations for great Paris Markeup Artists that we can send when you book a paris photo shoot with us!) This a great idea but sometimes adding on another logistical plan, like a makeup appointment the day of your shoot, can make it more complex. If you’re more of a DIY person, we want to encourage you to try creating your own natural look so your best features will shine in front of the camera on your big day. AND you’ll end up with natural makeup tips for an everyday look you can wear to work or out with friends!
There’s by no means any pressure to wear makeup to your photoshoot if it’s something you don’t feel comfortable in. We want you to be happy with your portrait experience, and that means not being forced into some kind of mold.
That being said, if you have any interest in wearing makeup for your shoot, even just a tiny bit, read on!
Today, we’re diving into the world of makeup for a professional photoshoot. And yes, this even applies to you women who don’t often wear makeup and might not feel confident doing it for a portrait session.
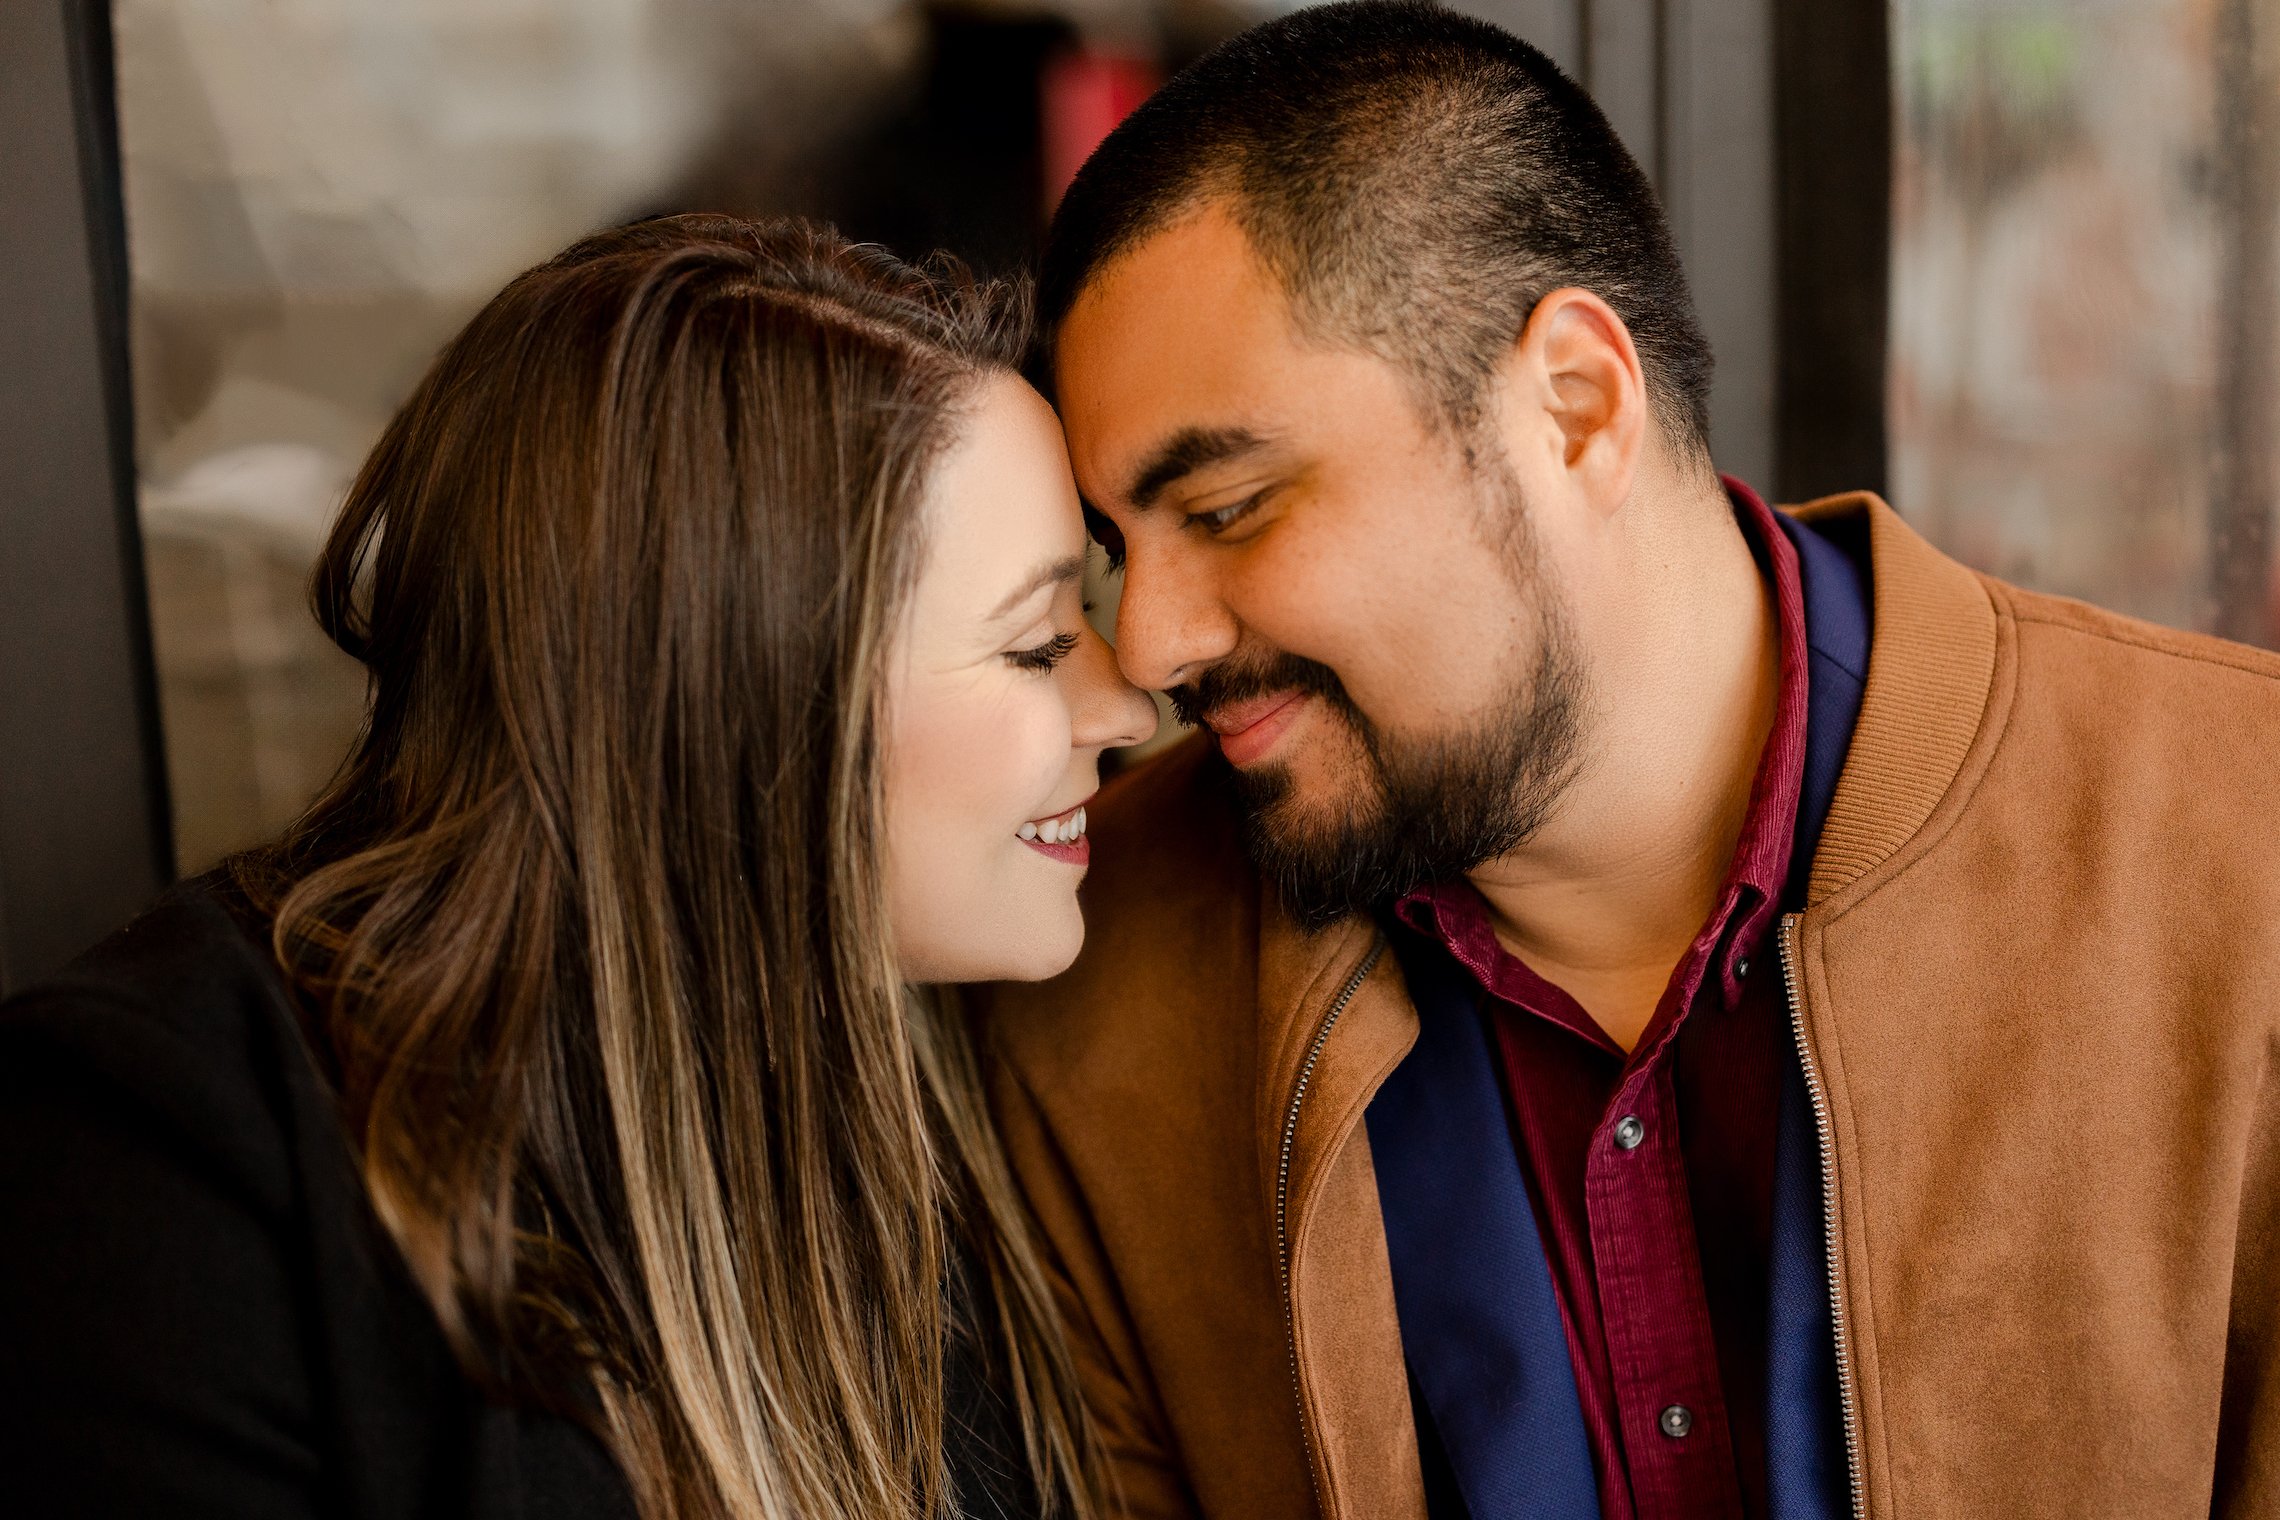
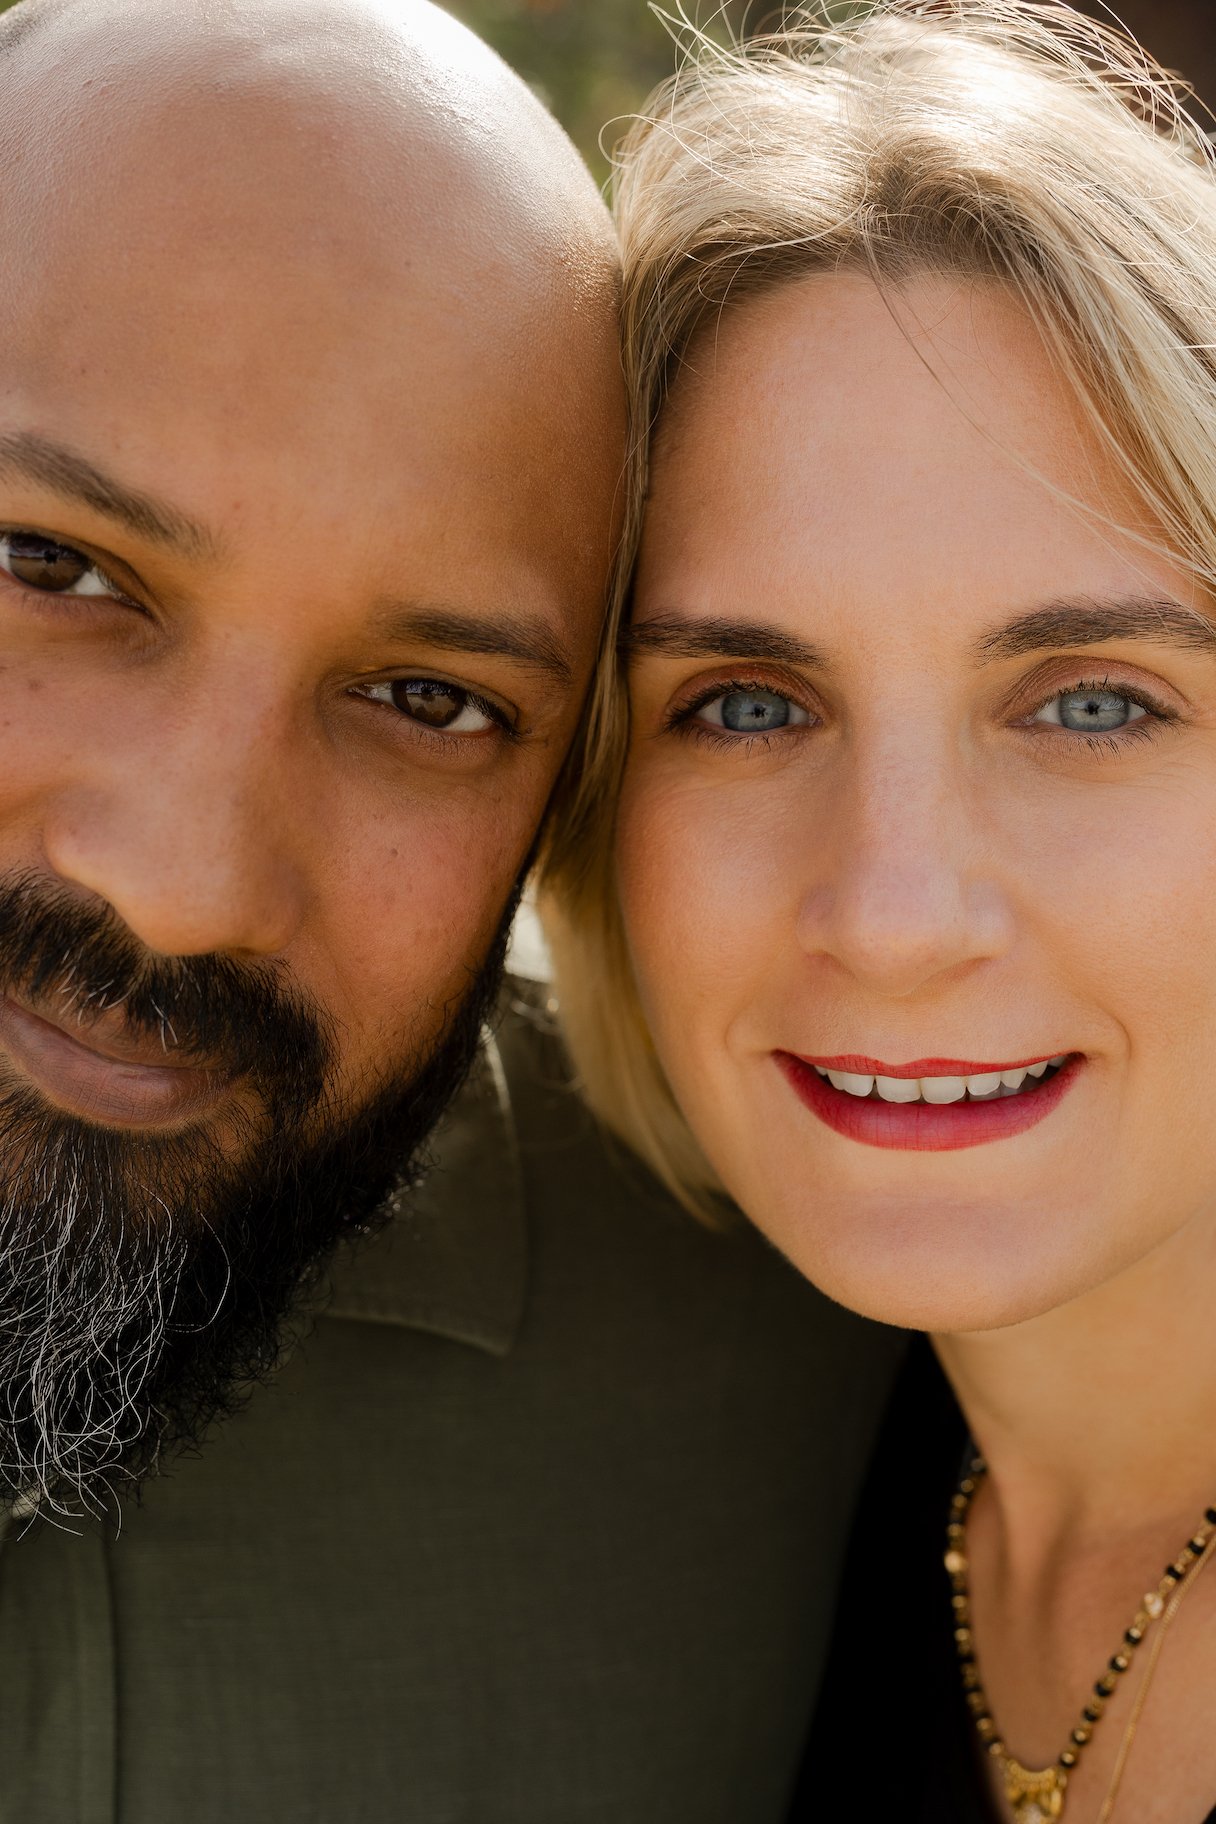
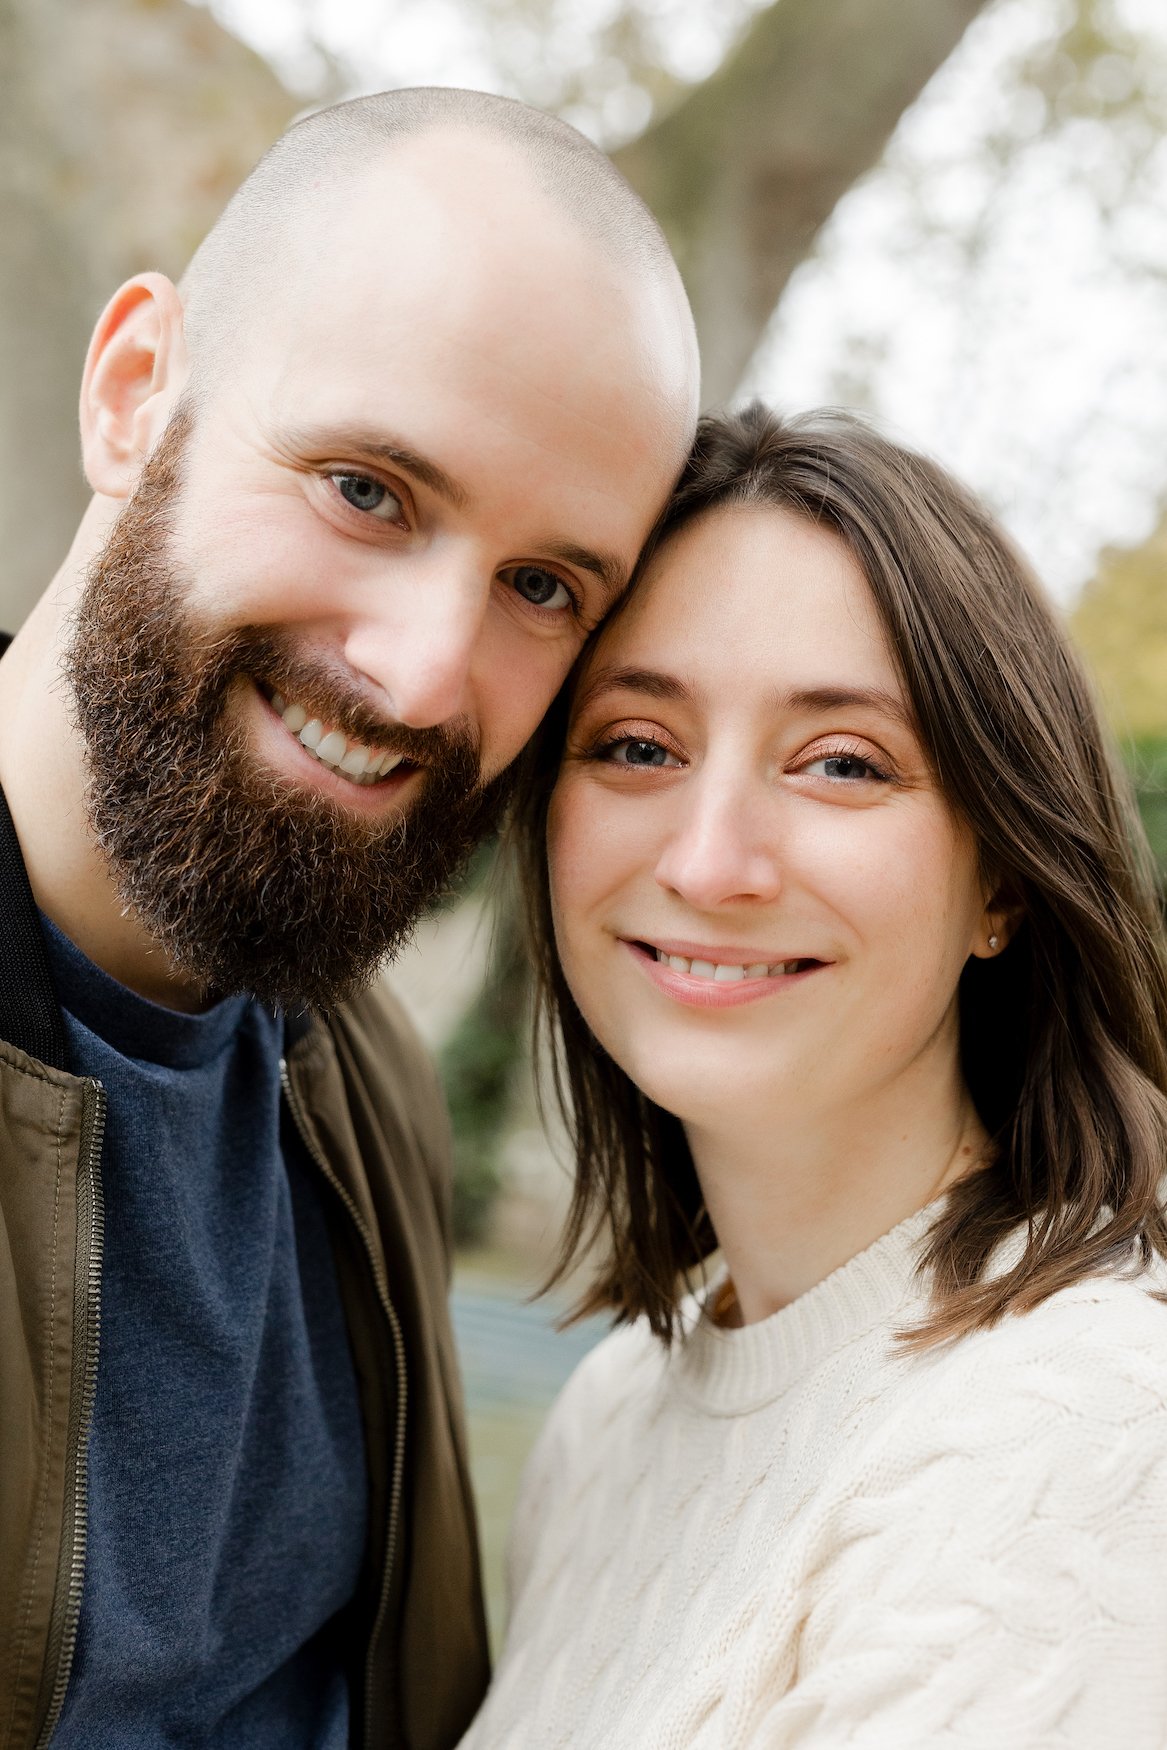
Whether you’re posing for headshots, family portraits, engagement photos, solo portraits, or just want to look like a million bucks, I’ve got you covered with some expert tips to help you tastefully nail your makeup game for your professional photoshoot.
Skincare:
First things first, prep that canvas. Skincare is such an important step in getting ready for a shoot. Cleanse, exfoliate, moisturise—this way you’ll be glowing from the inside out. We want the best version of you, which means happy, healthy skin.
Start off with a gentle cleanse of your face to remove any dirt, oil, and impurities that have accumulated throughout the day (or night). This step is crucial for ensuring that your makeup goes on smoothly and evenly.
Pro tip: I love a milk cleanser, I use this one from Biologique Recherche and this one from Caudalie (these are two of my FAVORITE French skincare brands and spas to go to in Paris). My friend Meghan from Wit and Whimsey turned me on to using a milk cleanser and it’s really done wonders hydrating even before you put on cream. I like to put it on with a dry face, then take it off with a warm washcloth. Make sure the water isn’t too hot (like a steamy hot shower) as when it’s really hot it can damage the sensitive face skin!
Serum: – this isn’t totally necessary for a shoot day but I do love a light serum to help with skin brightening or evening out the skin. I wear one on the daily and think it really does help. Keep it simple though. I’m OBSESSED and have been using this serum from Caudalie to help even out and brighten skin on and off for years. I also really love this one from Biologique recherche that I’ve just started integrating for dark under eyes.
Moisturizer: Apply a hydrating moisturiser to your face and neck to lock in moisture and create a smooth, supple base for your makeup. Look for one that suits your skin type—whether you have oily skin, dry skin, or somewhere in between.
Personal French Skincare Obsession: I’ve use this one and this one for years. The caudalie is lighter, and the Biologique Recherche is more robust and deep moisture. I use them depending on how my skin is feeling and the time of year. Both go on well under makeup.
Primer: Don’t skip this step, trust me! Primer acts as a barrier between your skin and your makeup, filling in fine lines, blurring imperfections, and helping your makeup last longer. Choose a primer that addresses your specific skin concerns—whether it’s minimizing pores, controlling oil, or adding radiance. This will give your skin a smooth finish.
Pro tip: I really like the Supergoop Glow cream. It’s a primer and a sunscreen in one and goes on ultra light and feels like silk. Get it here
Sunscreen: If you are planning to do an outdoor portrait session, this is a very important step! Our outdoor sessions usually last 45 minutes to an hour, which is ample time to get a sunburn if the sun is out. Apply a broad-spectrum sunscreen with SPF 30 or higher to protect your skin from harmful UV rays. Look for a lightweight, non-greasy formula that won’t leave a white cast or interfere with your makeup.
Pro tip: I really like the Supergoop Glow cream. It’s a primer and a sunscreen in one and goes on light and feels like silk. Get it here
Less is more…
The golden rule of makeup for photoshoots is to keep it classy and understated. Opt for a natural, polished look that enhances your features without overpowering them. Think soft, neutral tones that complement your skin tone and bring out your best self. If I were to be super minimalist and only choose two of these, I would choose to wash my face and then wear the primer/sunscreen combo.
Start with a Solid Foundation:
Just like building a house, a flawless makeup look starts with the right foundation. Choose a foundation that matches your skin tone perfectly and blends seamlessly into your skin. Finding the right skin tone is absolutely worth the time it might take to try and compare various options and brands. I really like going into sephora for this so they can match you. If you don’t like the color they recommend, just ask for another! I also often mix colors to find my correct shade as I tend to be naturally more bronzed in the summer so my vamire-y light winter skintoned makeup doesn’t match.
Pro tip: blend, blend, blend! This is important for avoiding harsh lines in your photos.
What I’m currently wearing: For more coverage I’ve been really loving the Erborian brand bb (this goes on SUPER thick so please use minimally, it took me a few times of using it to get the hang of it but it lasts ALL DAY), for less coverage and more of just a tint, I would use either the Tarte tinted moisturizer or the Supergoop! Tinted Glow Sunscreen.
Concealer can be a great way to hide those pesky blemishes and dark circles. Just dab a little on, blend it out, and voilà! Flawless complexion achieved. The trick with things like concealer and foundation is to not overdo it. Don’t cake it on. Honestly, the lighter and more natural the makeup look, the better the photos turn out. The portraits will end up lightly retouched anyways, so we recommend just being yourself, flaws and all. You will still love the result.
Eyebrows:
They frame your face and can really enhance your look! If you’ve NEVER worked with your eyebrows before though don’t start the morning of your photo shoot.
You should start by determining your natural eyebrow shape. Are they arched, straight, or softly rounded?
Grab a spoolie brush and comb your eyebrow hairs upward. This helps to reveal their natural shape and allows you to see any sparse areas that need filling in.

Fill ‘Em In: Choose a brow product that matches your hair color—whether it’s a pencil, powder, or gel. Use light, feathery strokes to fill in any gaps or sparse areas, focusing on enhancing your natural shape. Start at the inner corner and work your way outward, following the direction of your hair growth.
Personal: My brows are SO dark and I don’t like to fill them in, it often feels like “too much” if I do. However, when I was on chemo and all my hair fell out, my eyebrows thinned like crazy. If you’re dealing with the same or just have really thin brows in general, I really liked these two products: Glossier Eyebrow Flick (to draw on actual tiny hairs), and THIS pencil to fill in naturally.
Define the Arch: If you want to accentuate your arch, use a slightly darker shade or a touch of concealer to define the area beneath it. Be careful not to go overboard—subtlety is key!
Once you’ve filled in your brows, use a spoolie brush or a clean mascara wand to blend the product and soften any harsh lines. This will give your brows a more natural, polished finish.
Then you could use a clear or tinted brow gel. This will keep your brow hairs neatly groomed and prevent any unruly strays from misbehaving throughout the shoot and the rest of your day!

Highlight the Brow Bone: For an extra touch, apply a bit of highlighter or a matte eyeshadow slightly lighter than your skin tone to the brow bone. This helps to define the shape of your brows and makes your eyes pop.
And remember, sisters not twins—your brows should be related, not identical twins.
IF YOU’RE A MINIMALIST: Leave as is or I like using this eyebrow gel.
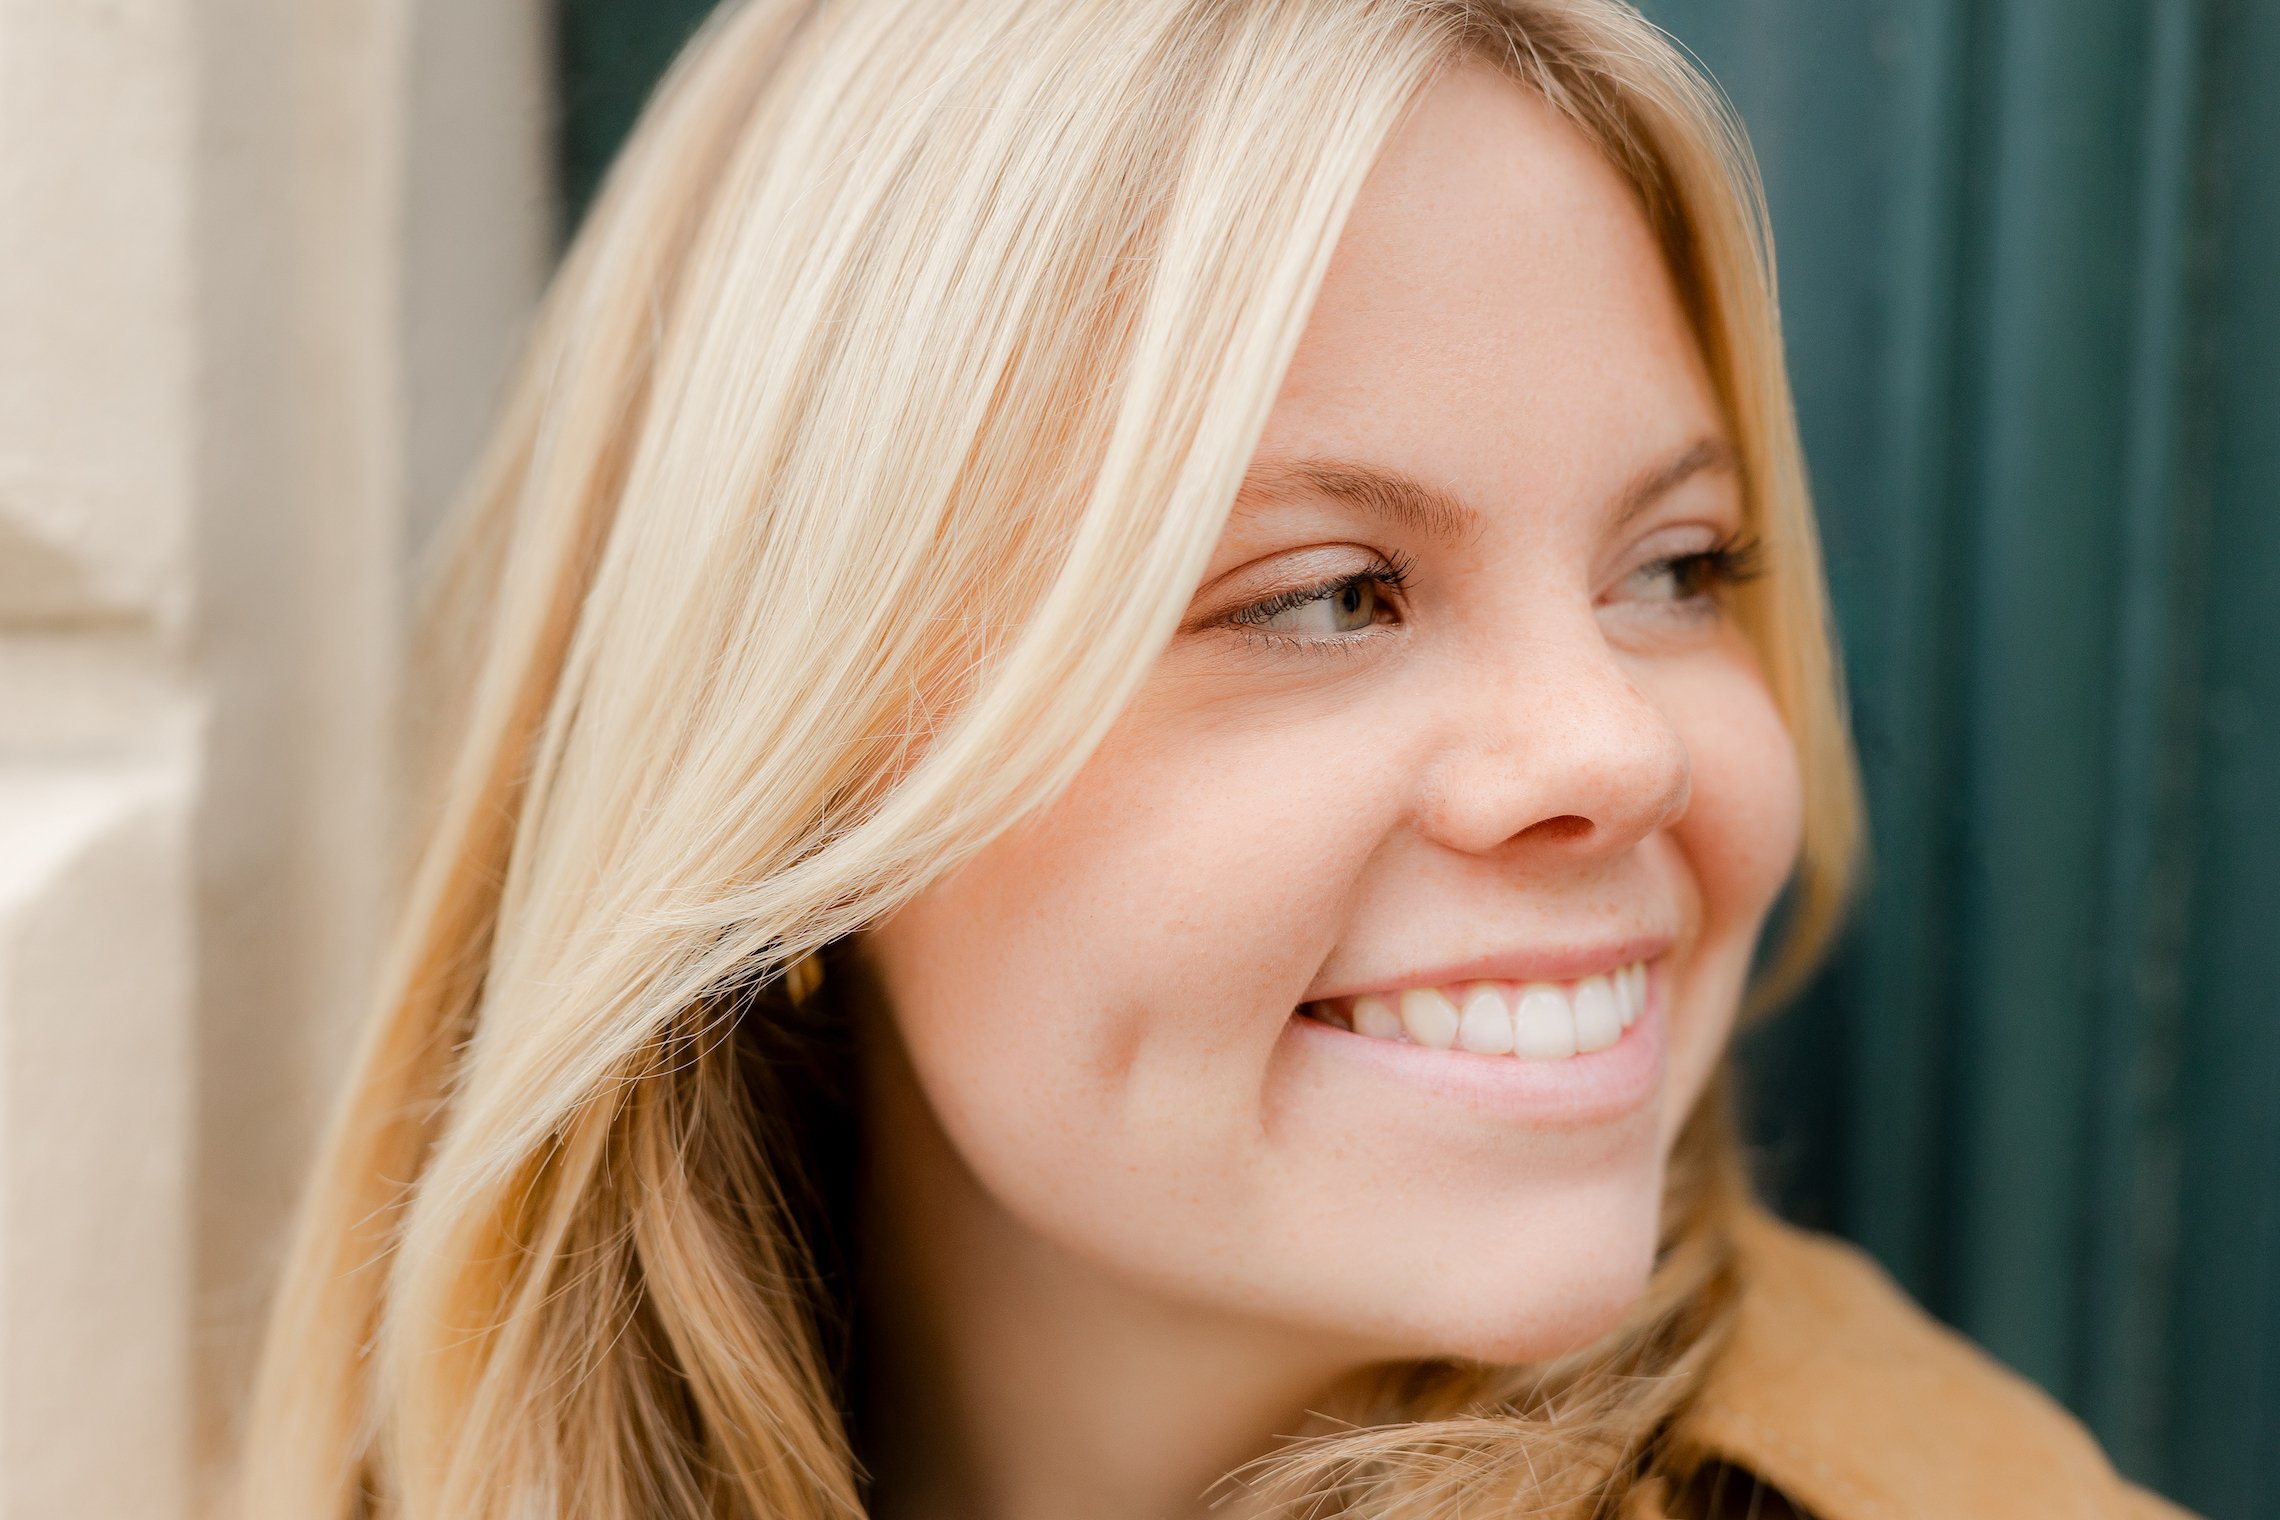
Eyes:
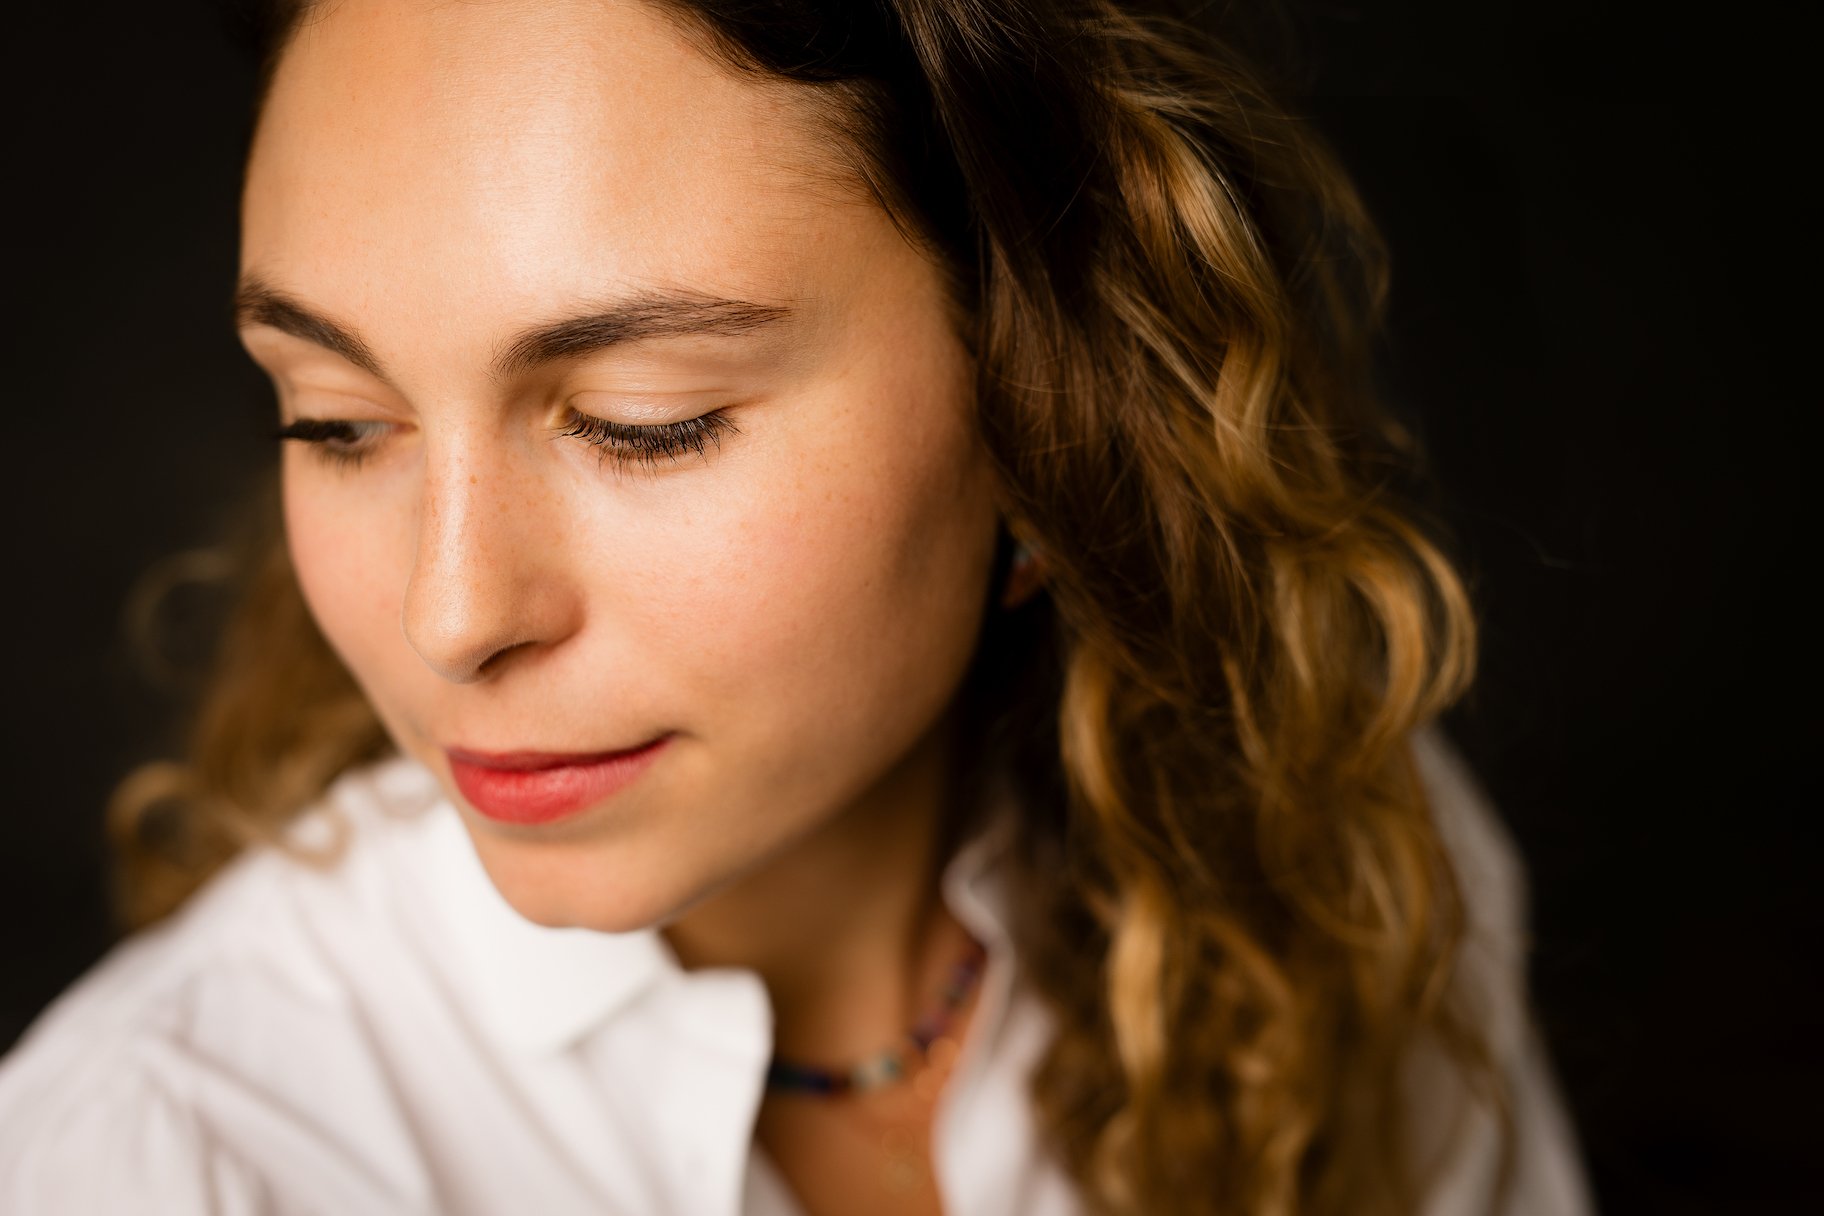
Your eyes are the windows to your soul. This is especially true in portraits, so make sure they’re captivating!
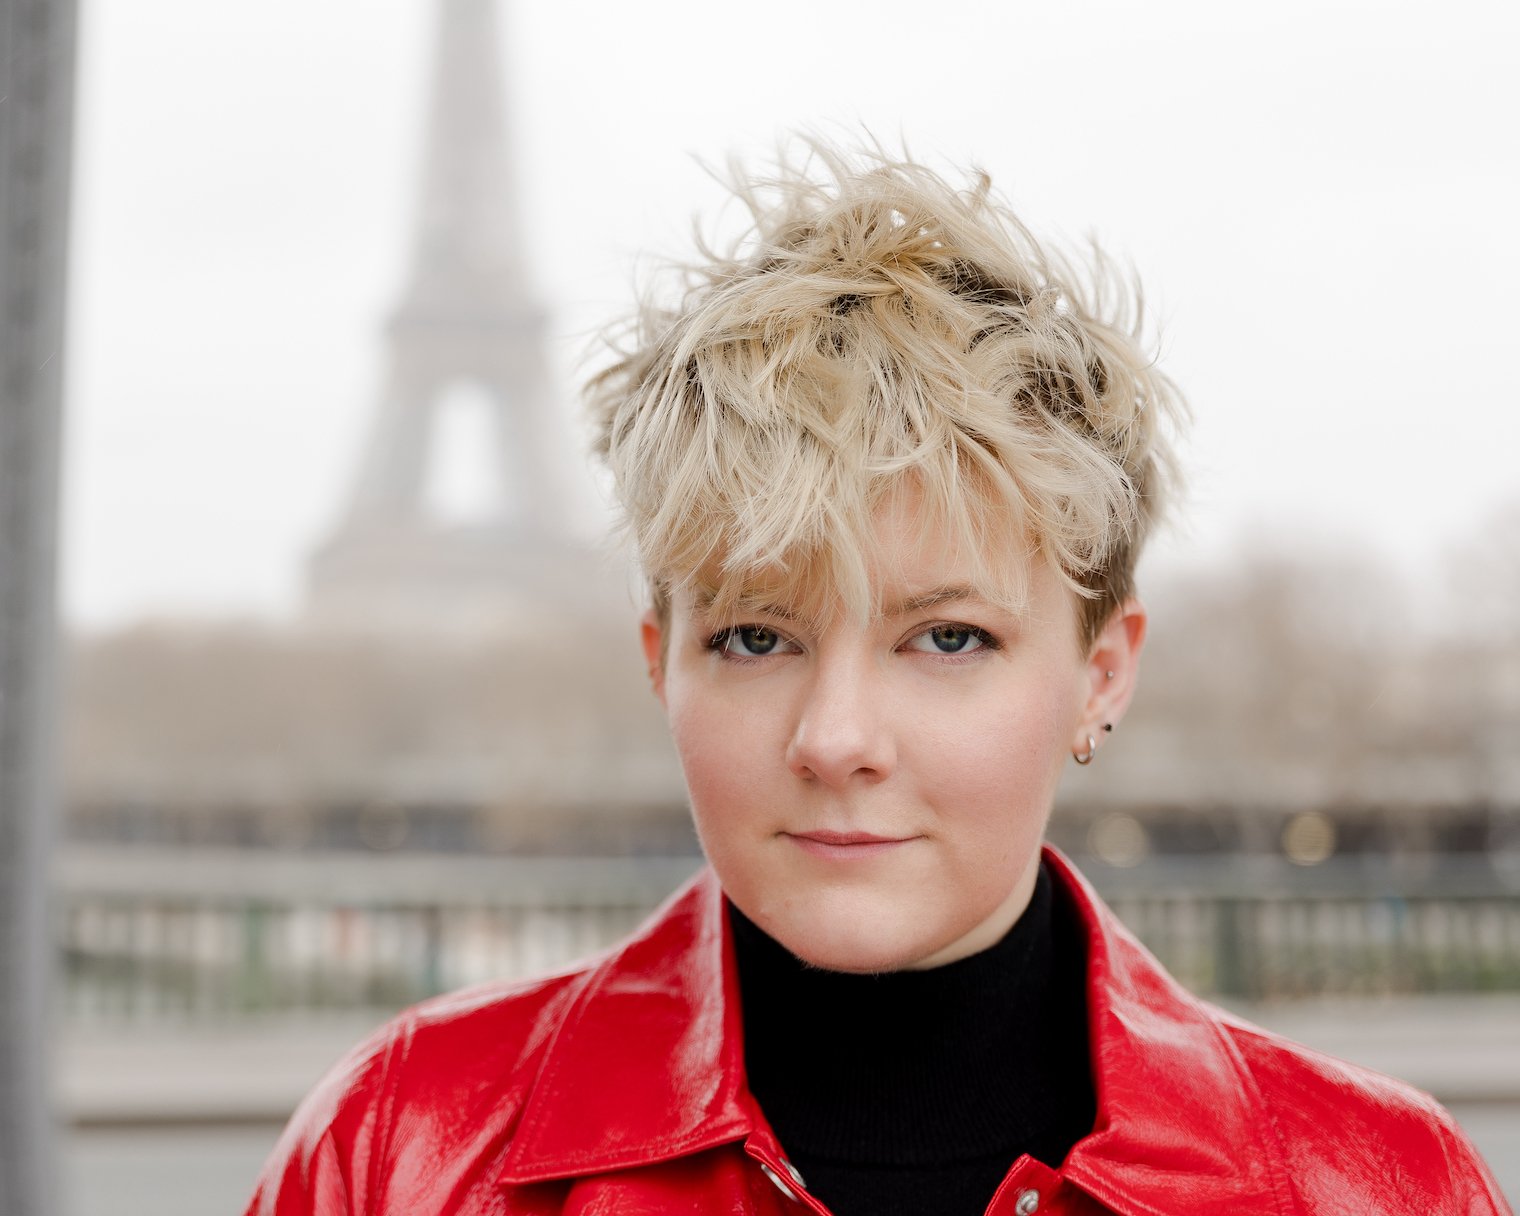
Eye makeup is where you can get creative and really allow your personality to come through! If you don’t normally wear makeup, feel free to skip the eye shadow. It might not be your authentic look so no need to force it. If you want to be a little flashier than normal, you can opt for something neutral, like browns and tans to bring out some contrast in your eyes without making you look dolled up. Even a subtle winged liner and a few coats of mascara can make your eyes pop without stealing the show.
If you love makeup and are itching to be your glamorous, unapologetic self…then I say embrace the smokey eye, winged liner, glitter extravaganza—go wild! Just make sure to blend like your life depends on it (spoiler alert: it kinda does).
Take your eye color into account when choosing your eyeshadow look. The colors that make blue eyes pop are not always the same as what makes green eyes pop.
I really do think it’s important to look as close to your every day self as you can. Of course, you might be dressed a little nicer than usual for a photoshoot, and that small degree of enhancement should apply to your makeup as well. We want to bring out your truest and purest personality. So if that means ditching makeup, that’s totally fine! If it means wearing a little more than usual but not enough to shock the people you normally spend time with…perfect. If it means wearing stage makeup because that’s how you feel most confident and comfortable…absolutely.
At this point, you can apply some mascara. If you’re feeling fancy and bold, throw on some false lashes for extra drama. Otherwise, a simple coating of mascara will do the trick.

Cheeks:
Blush is a great option for adding a bit of color to your complexion. You want to apply a small amount of blush to the apples of your cheeks. Smile big and blend upwards for that subtle glow.
If you have more time and energy and want to go the extra mile, you could try out highlighter! This will give you that lit-from-within glow. Apply a small amount to the high points of your face—think cheekbones, brow bones, and the tip of your nose—for a radiant, luminous finish that catches the light beautifully.
Lips:
Onto the final step before your upcoming photoshoot! The shade of lipstick you choose will be dependent on your outfit, complexion, and personality. If you’re wearing a red dress, for example, be sure to choose a red tone that matches. You can put some thought into how dramatic you want to look and make a lipstick decision accordingly. Certain complexions favor a bold red while others shine more with a subtle nude or peachy pink. If you don’t have a lot of experience buying lipstick, I’d recommend doing some research on lipstick shades and complexions to get an idea of what would be the best fit for you. Sometimes the colors we’re drawn to aren’t always the colors that enhance our natural features.
Here’s a rule of thumb for selecting the right color based on your natural skin tone:
Fair Complexion: If you have fair skin, opt for soft, light shades like nude pinks, peachy corals, and light mauves. Steer clear of shades that are too dark or overly bold, as they can overpower your delicate features and wash you out.
Light to Medium Complexion: For those with light to medium skin tones, you’ve got some flexibility! Go for rosy pinks, warm berries, and dusty roses for a flattering pop of color that enhances your natural glow. You can also experiment with sheer shades and glossy finishes for a fresh, youthful look.
Medium to Olive Complexion: Lucky you—you can pull off a wide range of colors! Rich reds, deep berries, and warm terracottas look stunning against medium to olive skin tones. You can also rock bold shades like vibrant oranges and deep plums for a statement-making pout.
Deep Complexion: Darker skin tones can handle intense, bold hues like nobody’s business! Think deep burgundies, rich chocolates, and bold berries for maximum impact.
Remember, these are just guidelines, not hard and fast rules. Ultimately, the best lipstick shade is the one that makes you feel confident and beautiful.
Pro tip: use a lip liner to prevent any feathering or bleeding. That way you can avoid getting unwanted lipstick on your teeth.
For the best results, keep it chic and sophisticated with a neutral lipstick or lip gloss that complements your overall look. Unless you love bold makeup and wear it on a regular basis, we recommend avoiding anything too bold or dramatic that might distract from your stunning smile.
And there you have it! With these expert tips in your makeup arsenal, you’re sure to dazzle and delight at your next professional photo session. Just remember that this makeup blog IS comprehensive but IS NOT required! Feel free to pick and choose the features you want to shine, and leave out steps you don’t care as much about.
We would LOVE to welcome you to Katie Donnelly Photography during your next trip to Paris. You can book your professional portrait session HERE.
(P.S. Some of these links we get affiliate commissions on if you purchase something. They’re all products that I’ve used and love!)